

This procedure provides step‑by‑step instructions for cleaning and maintaining the HydroClear Water tower system to ensure:
SCAN TO VIEW ON MOBILE DEVICE

- Consistent clarification performance
- Extended equipment lifespan
- Reduced downtime
- Stable recycled water quality
SERVICE INTERVAL GUIDELINES
| Production Level | Recommended Cleaning Frequency |
| Low Volume (~200 sq. ft./day) | Annually |
| Mid-High Volume (>500 sq. ft./day) | Every 6 months |
| Heavy Quartz / Synthetic Stone | Minimum every 6 months |
ℹ️ Note: Synthetic materials (quartz) break down into plastics that foul recycled water faster and require more frequent service
REQUIRED TOOLS & SUPPLIES
A. Safety Equipment
- Safety harness (if elevated access required)
- Protective gloves
- Eye protection
- Ladder or lift (as required)
B. Cleaning Equipment
- Pressure washer (1500–3500 PSI recommended)
- Fresh water hose
- Brush and bucket
- Neutral pH degreaser or mild industrial tank cleaner
C. System Tools
- 9/16" wrench
- Binder clip (to hold purge valve open)
- 2" PVC pipe (12–24") with elbows
D. Replacement Components
- New sludge bag
E. Optional (Preferred)
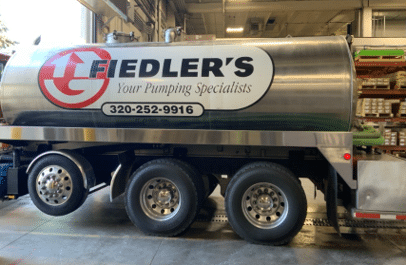
- Hire a Vacuum pump truck to pump the system
Service steps
Power down the unit and follow all safety protocols your company has in place prior to performing the next steps
Step 1 – Mandatory before draining disable system
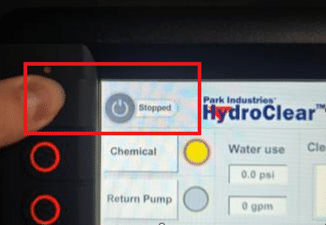
- Use controller to select Disable / Enable System.
- Do NOT disconnect main power unless performing electrical service.
Step 2 – Shut off shop supply
- Close the water supply valve located near the tank that is suppling water to the shop.
- Close the valve feeding the repress pump. (both valves if on 140 or 220 system)
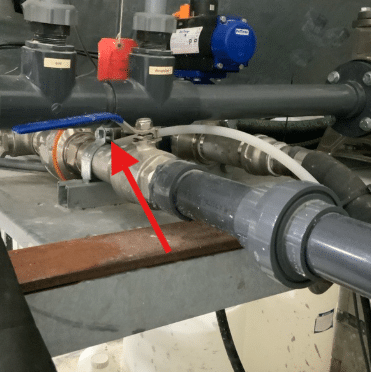
Step 3-Draining the system
OPTION A – PREFERRED METHOD: VACUUM PUMP TRUCK
- ✔ Most thorough removal method
- ✔ Recommended for annual service (High Volume shops may need to do more often)
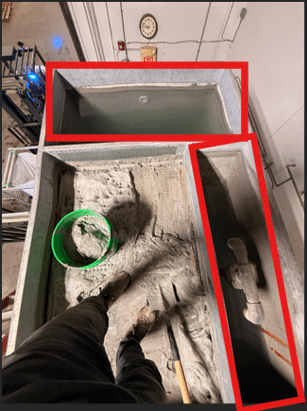
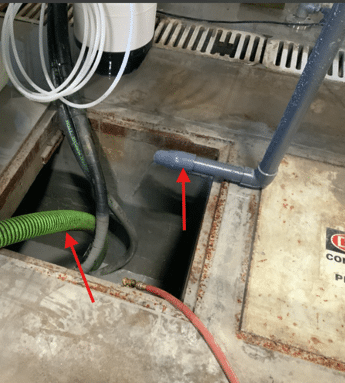
Use the Vacuum truck hose into clarifier tower on top side of clarifier. Empty out the dirty side of the system and the clean side.
- While pumping out, power wash:
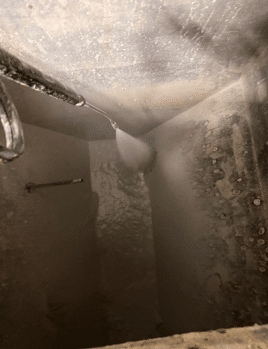
- Tank walls- Spray down both the clean water side and the dirty water side. While spraying it may help to have someone tap on the outside of the unit with a rubber mallet to help loosen the mud on the wall.
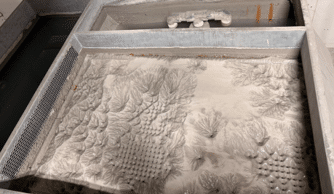
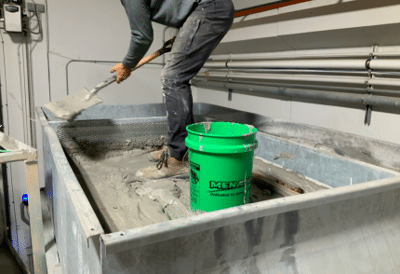
- Diffuser plate- You may need to use a shovel to clean the plate if the mud levels are too thick.
DIFFUSER PLATE REMOVAL (If equipped on your unit)
- Remove mounting brackets.
- Remove diffuser plate using 9/16" wrench
(3/8" x 1" stainless steel bolts). - Wash both sides and set aside while cleaning the plate pack.
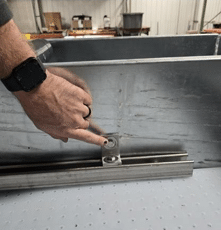
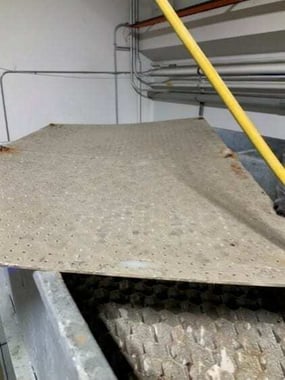
Plate pack cleaning
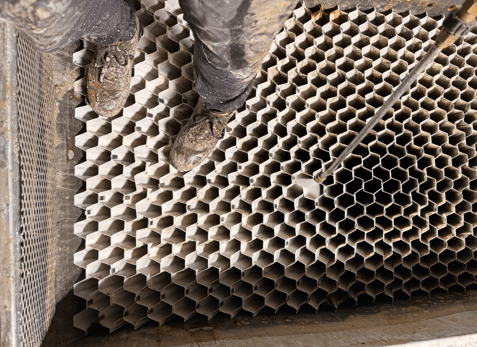
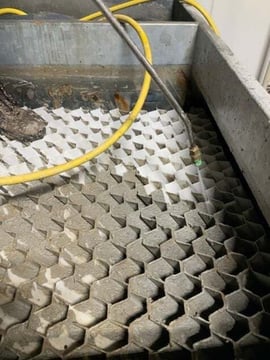
- Wash down each area and make sure you can see down the full column to the bottom. Manually remove heavy sludge if necessary.
- Pressure wash plate pack in place:
- 1500–3500 PSI recommended
- Avoid direct high‑pressure spray into tube openings
- Clean each tube individually until water runs clear
- Continue flushing with fresh water during extraction with the vacuum truck.
OPTION B – DRAIN TO PIT OR EXTERNAL TANK
Ensure discharge location has adequate capacity and meets local regulations.
- Drain slurry side via 2" purge valve.
- Attach 2" PVC fittings using duct tape (DO NOT glue).
- Route discharge to approved location.
- Have Vacuum truck empty the pit location as your filling.
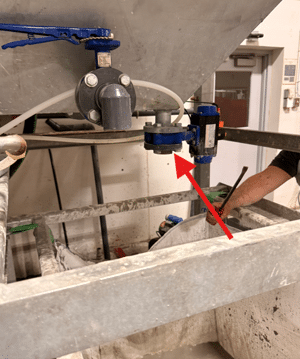
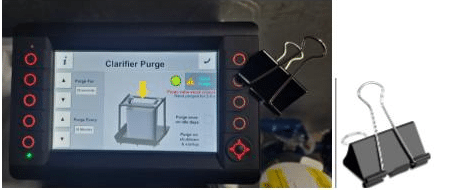
- Hold purge valve open using binder clip on auto purge button.
Step 4-INTERIOR INSPECTION CHECKLIST
After draining, inspect and document:
☐ Sludge accumulation level
☐ Tank wall integrity
☐ Signs of corrosion
☐ Clogged screens between clarifier and clean tank
☐ Structural condition of internal components
OPTIONAL PUMP MAINTENANCE
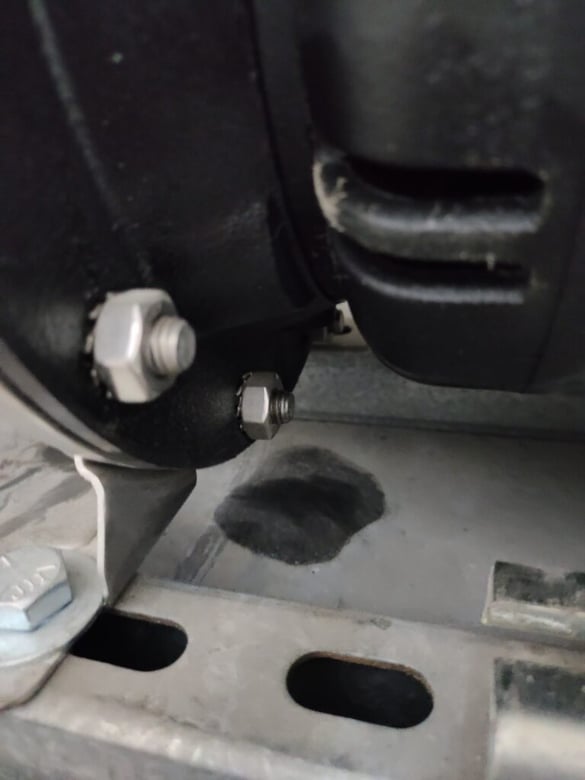
Repress Pump Seal Inspection
Link to rebuild video- Typical lifespan-6-18 months (depending on maintaining the water quality.)
- Leaking pump photo
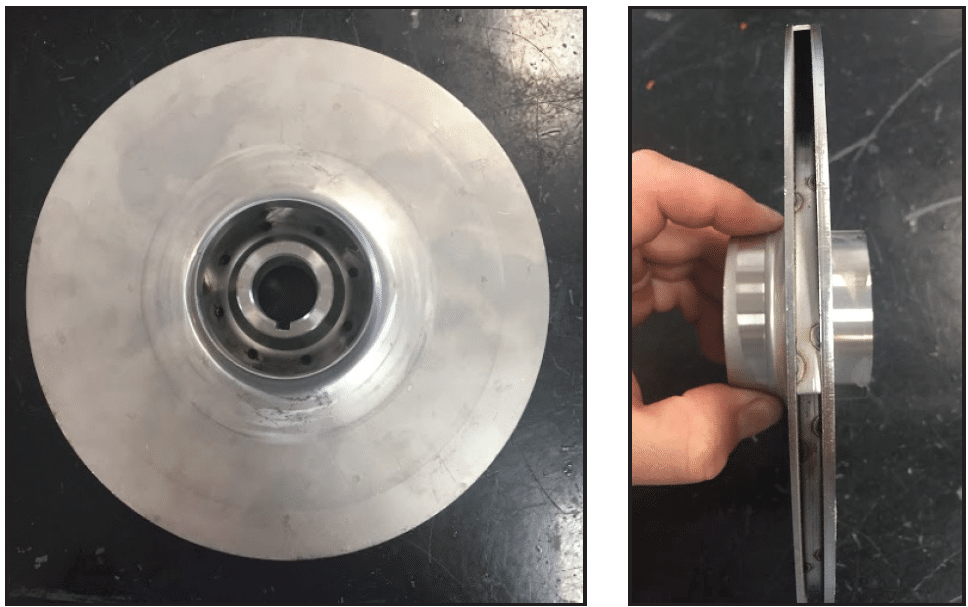
Impeller inspection
- Remove motor from pump housing and plumbing manifold.
- Inspect and clean impeller.
- Remove debris or buildup.
RINSE & REFILL PROCEDURE
Step 1 – Rinse
- Rinse entire tank with clean water.
- Direct rinse water to sludge bag or discharge using purge function.
Step 2 – Close Valves
Verify:
- Purge valve closed
- Clean water tank valve closed
Step 3 – Refill & Restart
- Refill tank with fresh water and confirm your water levels are good

- Open the valve to repress pump. (Pumps if 140 or 220 system)

- Open the water supply valve feeding the shop.
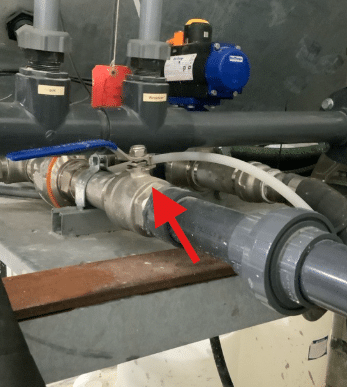
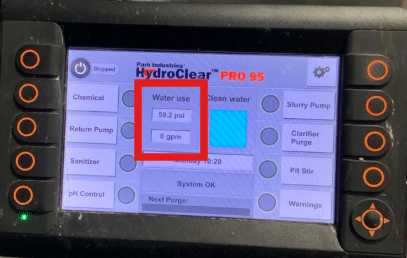
- Turn the system on and confirm proper pressure and flow before returning to service.
SERVICE RECORD RECORDING
After completing maintenance, record:
- Date of service
- Sludge level observed
- Components replaced
- Pump performance after restart
- Any damage identified