

This procedure will assist in replacing the miter gear rack and gear on Pro Edge and Tru Edge polishing machines.
Scan to Read on Device:

- Miter to 0 degrees and follow your companies LOCK OUT TAG OUT procedures.
- Start by removing the miter motor from the miter box.
- Remove the motor and set it on the ground.
- Measure the distance to the end of the gear of the miter motor (Use measurement to re-install new gear correctly).
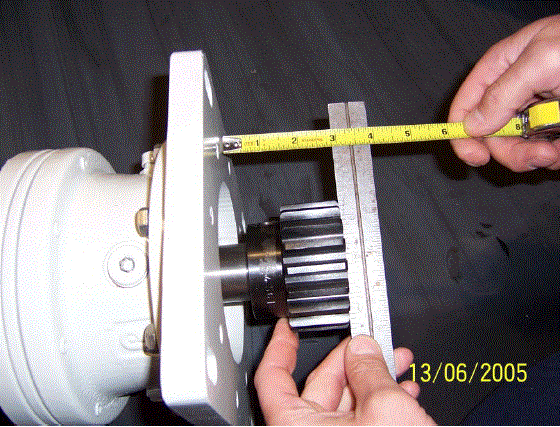
- Using a gear puller remove the gear.
- Install loctite on the shaft of the miter motor and install new gear using previous measurement.
- Remove all allen bolts from the gear rack you may need to raise and lower the miter box to get all the bolts out.
- Replace all of the allen bolts but do not tighten until all of the them fit, you may need to push or pull the gear rack to get all the bolts to fit correctly.
- Return the miter motor back into the miter box and install mounting bolts.
- Tighten the four (4) miter motor mounting bolts.
- Use a business card and run it in between the gear and gear rack, if it is shredded loosen the four (4) bolts and re-adjust then re-tighten motor.