This Procedure describes the Process of swapping the JetEdge intensifier with the Hypertherm intensifier on FUSION CNC Sawjets.
Scan to Read on Device:

Turn off and isolate energy sources
- Turn off and isolate (Lockout/Tag out) electrical and water sources to the intensifier
- Remove all lines to the old intensifier
- Unbolt and remove the old intensifier
Installation
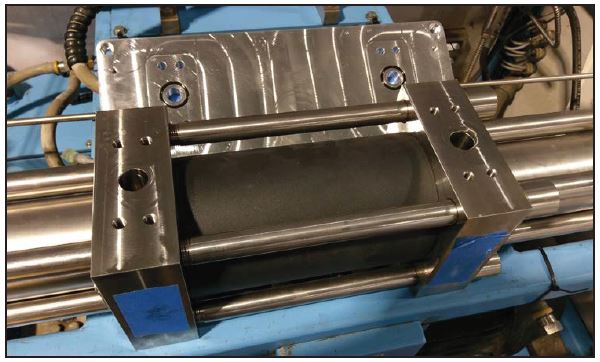
Install the bottom plate on the HYPERTHERM intensifier (remember to install the o-rings)
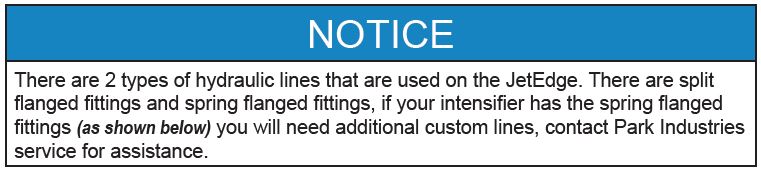
Install hydraulic lines
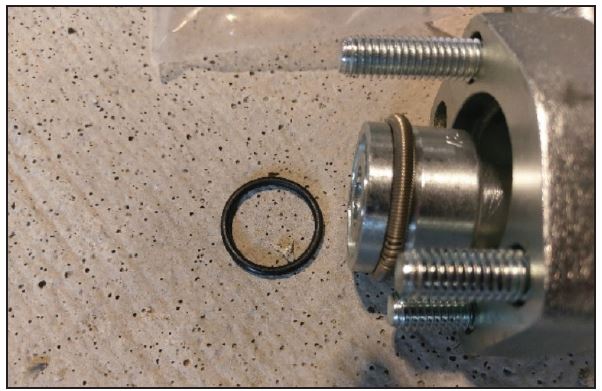
Install the hydraulic flange fittings on the bottom plate, use threadlocker on the bolts (remember to install the o-ring)
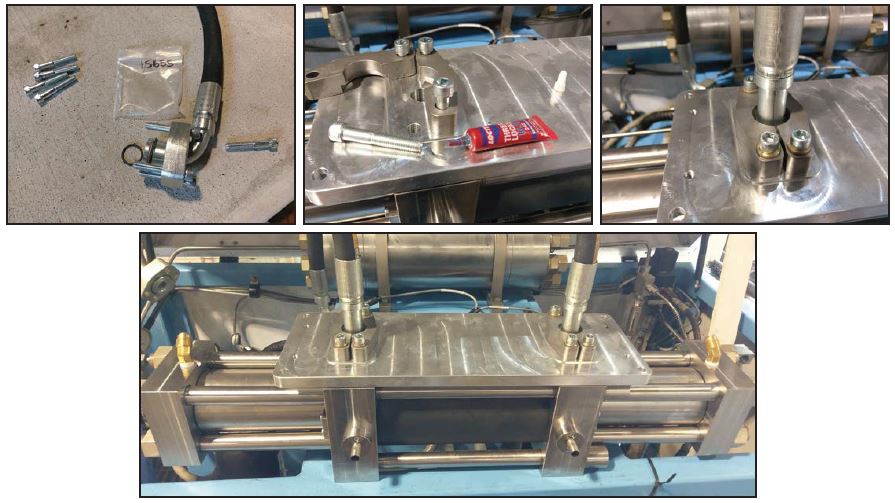
Mounting the Intensifier
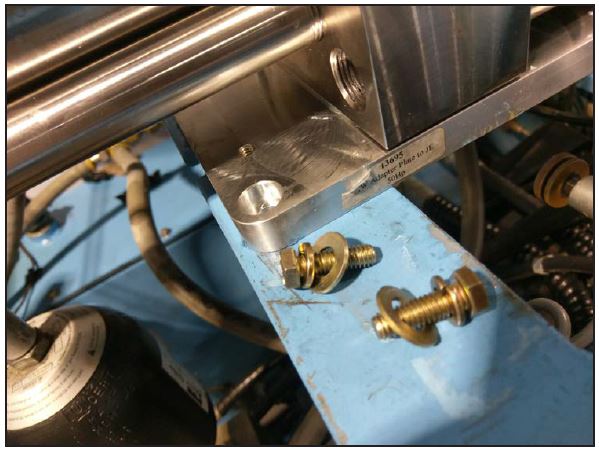
Flip over the bottom plate/intensifier assembly and secure it to the cabinet frame
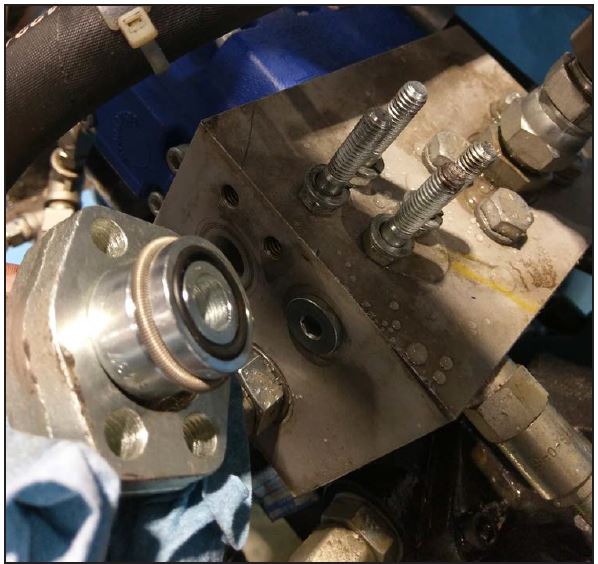
Connect the flange fitting to the manifold block
Install Electrical
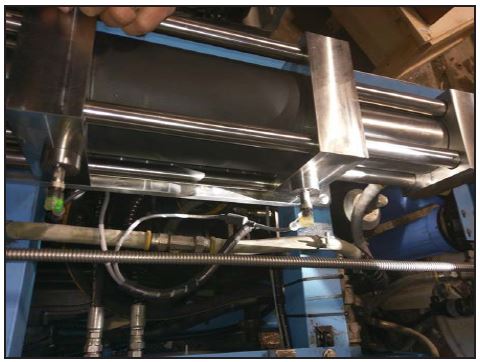
Install the new proximity sensors and cables (Use schematic to verify proper installation. sensors are normally open switches).
- Red/Black: +24VDC
- Red/White: - 24VDC
Install High Pressure Waterjet lines
Install the HP lines to the attenuator and to the intensifier
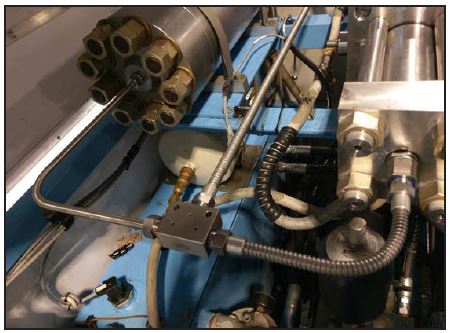
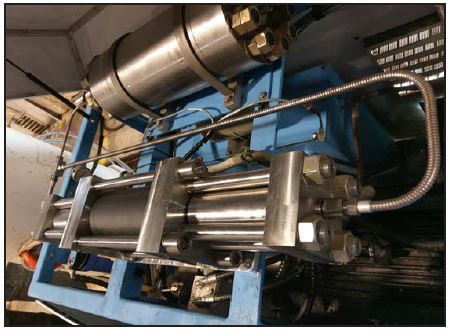
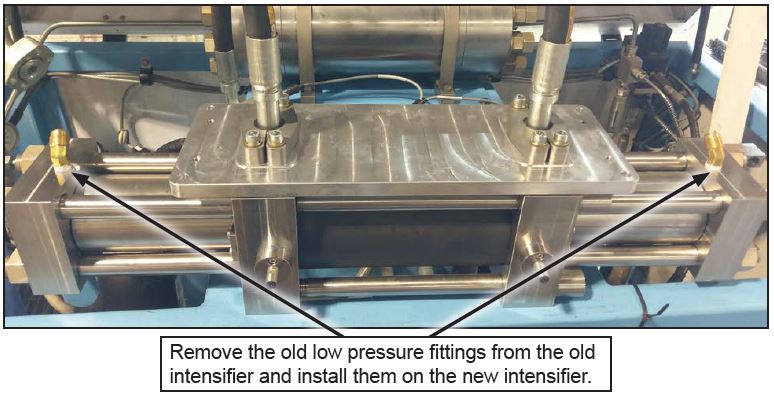
Install low pressure fittings
Restore power and the water to the intensifier
- Follow the following to get hydraulic fluid flowing in the intensifier:
a. Lower the nozzle
b. Open the water valve
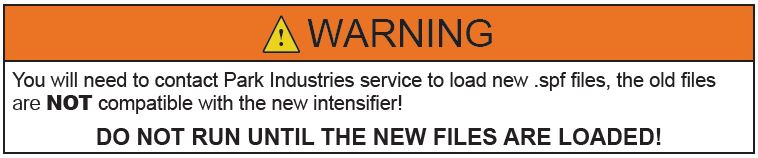
c. Cycle the intensifier onoff for 3 - 4 cycles - Contact Park Industries service to load the new .mpf files before running