Using the different features of the CNC Router Pendant
Scan to Read on Device:

Continuous Jog Movement. Moves the CrossTravel Y plus and minus and X plus and minus directions using the arrows on the keypad.

the side button must be pressed to “Enable” the keypad to achieve machine movement
When the enable button is pressed and a key pad arrow is pressed the cross travel will move in the respective direction
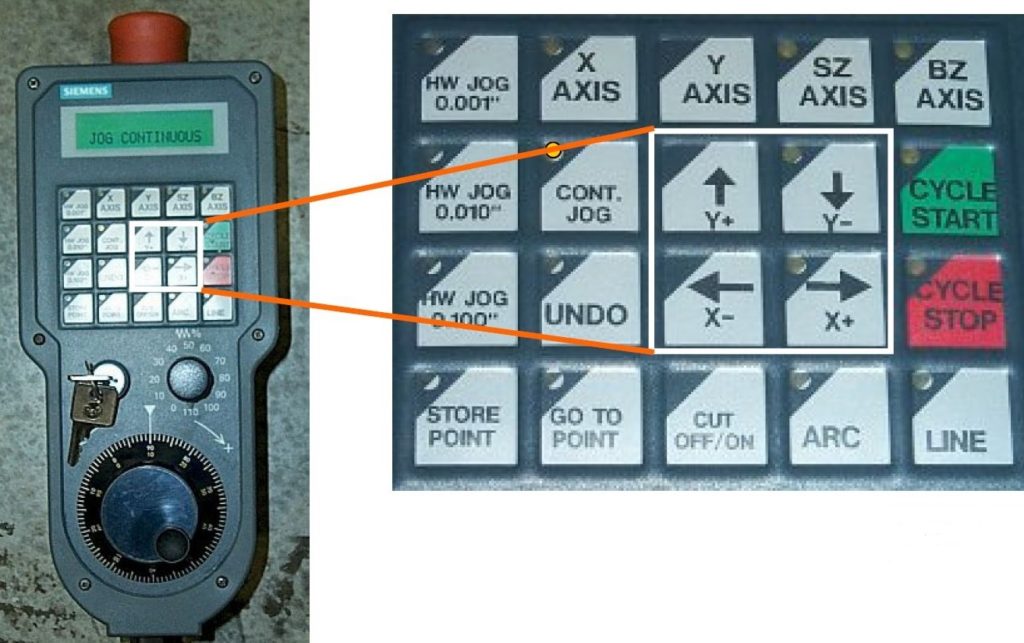
Incremental Movement: The Titan pendant’s incremental movement feature allows an operator to move the Titan left, right, Forward and Back in increments of 0.100, 0.010, and 0.001 thousands of an inch. (All directions are based on a frontal view of the machine.)
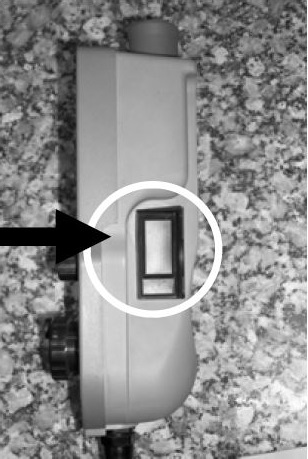
To use the Incremental Movement option on the Titan pendant, press and hold the activation button on the side of the pendant.
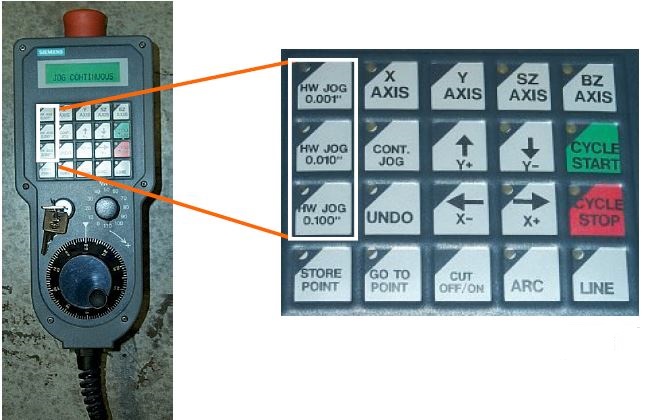
While holding the side button, press the incremental distance that you desire (0.001- 0.100 thousands of an inch).
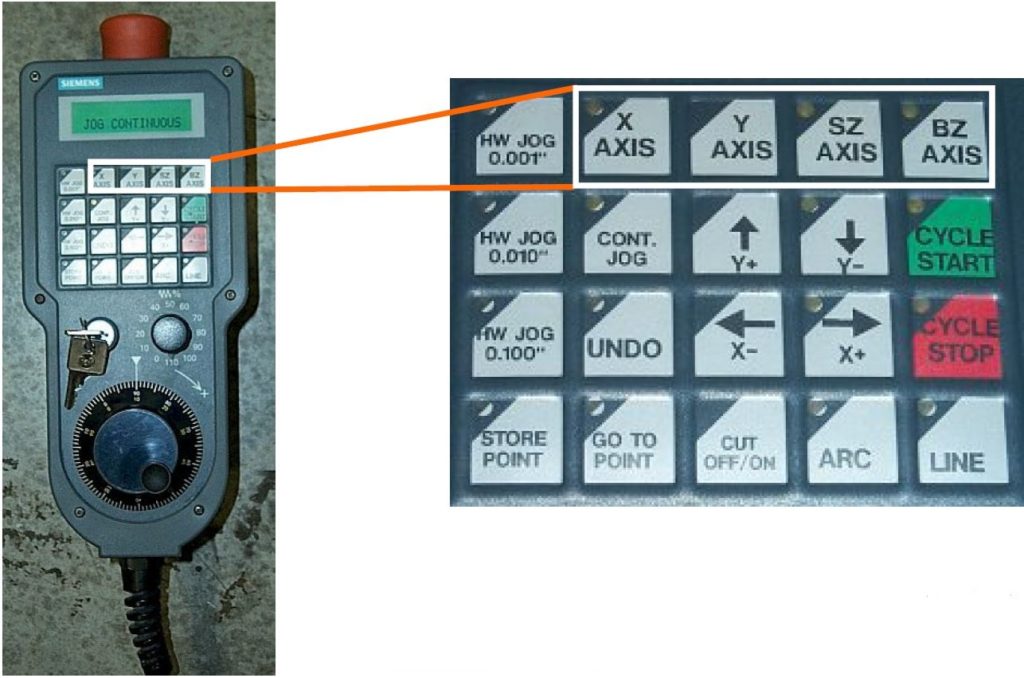
While holding the side button, select the direction that you wish to make the incremental distance that you chose in step 2. Selecting X will allow you to move left and right, Y will allow forward and back movements, SZ and BZ will increment the spindle and blade up and down (Fig. #5). (All directions are based on a frontal view of the machine.)
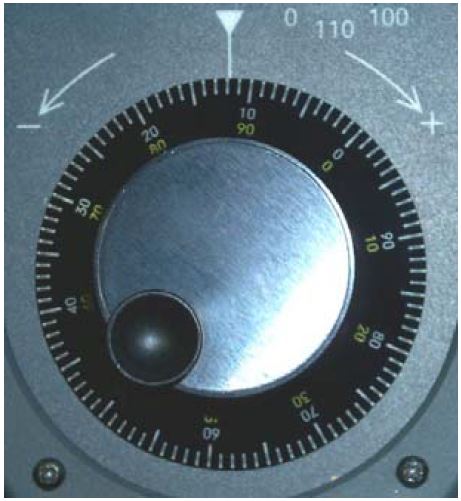
To move the Titan , turn the knob in Fig. #6. One click, or ratchet, of the knob will move the Titan by the exact amount chosen in step 2. For example, if an incremental distance of 0.100” and the X direction were chosen, turning the knob clockwise will move the Titan to the right 0.100” per knob ratchet, counterclockwise will move the machine towards the left 0.100” per knob ratchet.
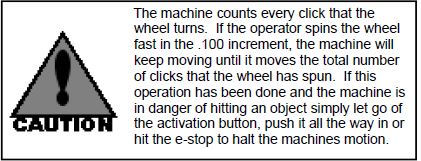
Always double check the icrement settings before moving the machine. NEVER assume the it is set where you need it. Err on the side of SAFETY!
Digitizing Commands: Allows the operator to digitize a template using the laser light, incremental movements, and the commands circled in Fig. #7. To digitize using the Titan pendant, use the Incremental Movement option and the commands Line, Arc, Cut on/off, and UNDO.
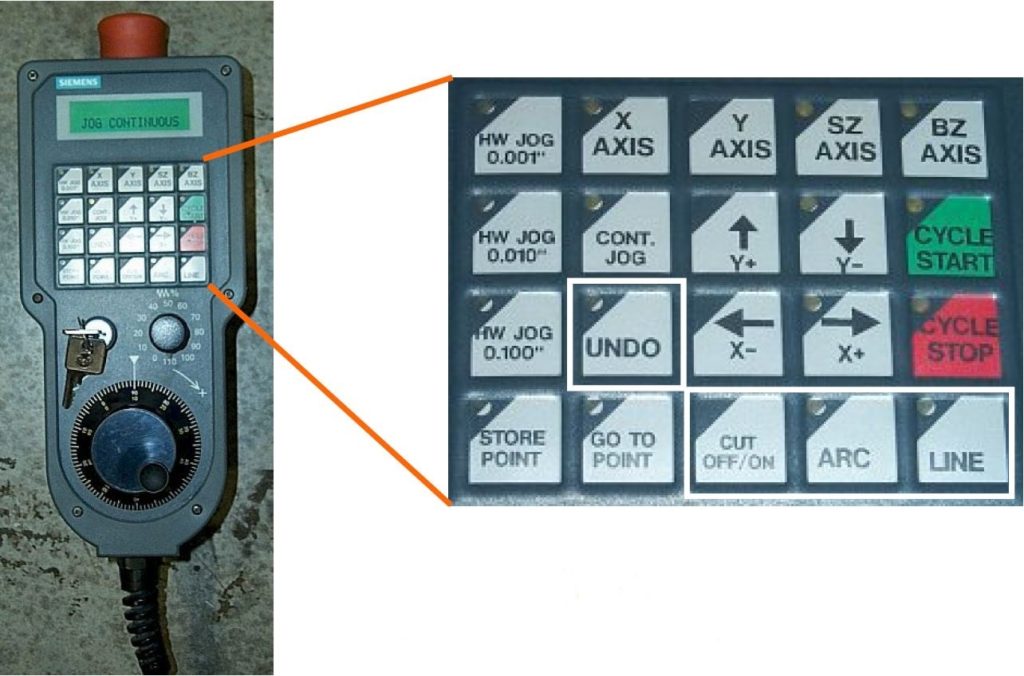
Line: Pressing this button will select a X-Y coordinate to start or finish a line. Two points are required to make a line. When connecting points, the line may or may not appear as a straight line on the monitor, depending on the slope of the line. The last point selected may also be the first point used for the next line or arc.
Arc: Pressing this button will select an X-Y coordinate to start the creation of an arc. Three points are required to complete an arc. The last point selected may also be the first point used for the next line or arc.
Cut on/off: Press this command button at the beginning of a cutting move during digitizing, this tells the machine to lower a tool into the work piece. Likewise, press this button to raise a tool out of a piece where you want to finish a cut. This command can be used multiple times in a digitized pattern.
UNDO: Deletes a command that you may have incorrectly chosen during digitizing. Press UNDO to delete the last command. Each depression of UNDO deletes the previous command.
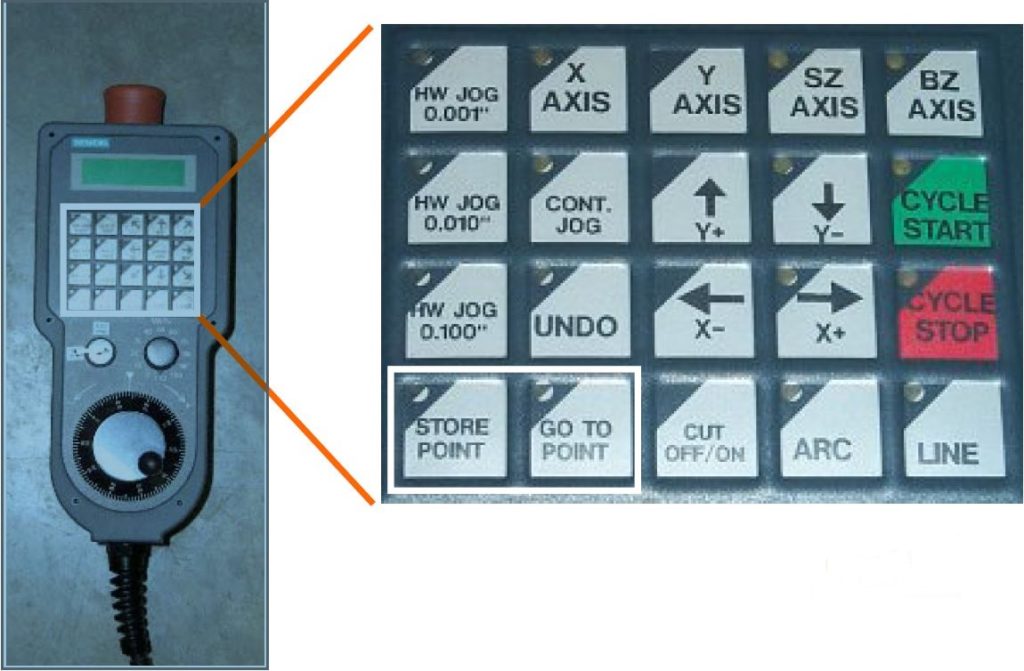
Store & Goto Point: Allows an operator to mark up to 10 points while digitizing, and return to those previously marked points, (commands circled in Fig. #8). An operator, for example, may want to mark shared lead-in and lead-out points of a sink and return to those exact points during the digitizing process.
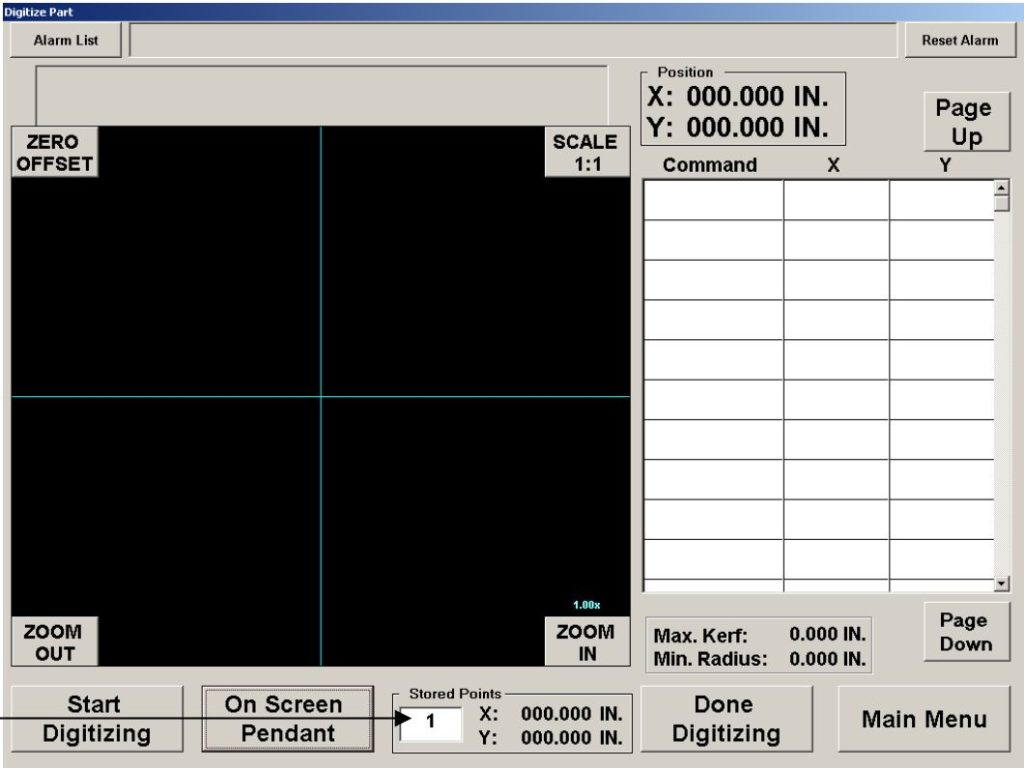
When you place the laser on a point that you wish to mark so that you can return to it later, press and hold the side button on the pendant (Fig. #1) and then press the “StorePoint“ button on the pendant (Fig. #8). The Store Points box will appear (Fig. #9)
2. When you wish to return to a point previously marked, press the number inside the “Stored Points” box (Fig. # 9) and enter the number of the point that you want to return to; press and hold the side pendant button, then press the “Goto Point” button on the pendant (Fig. #8).