
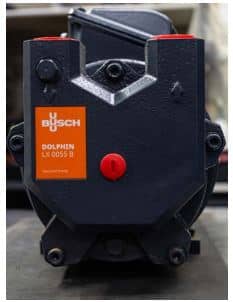
Guide showing how to rebuild the 3HP vacuum pump. Links below for removal process if needed.
Scan to View on Mobile Device

There is a printer friendly PDF download below.
Tools:
- Slide Hammer
- 4mm hex socket
- T25 Torx socket
- Puller plate
- Straight Edge
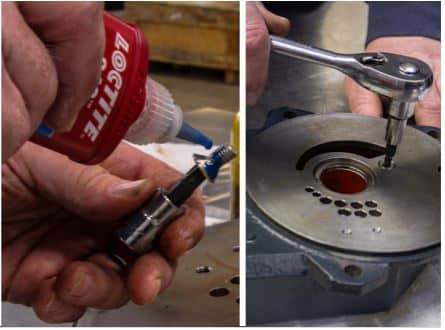
- Loctite 243
- 1″ wrench
- 5mm hex socket
- Ratchet
- Spanner socket
- Small putty knife
- Shop Towels
- 1/2″ socket
- 6mm hex socket
- Feeler gauge
- 1-1 1/4″ pipe
- Metaflux Gleitmetall – Park Industries PN# 3400037
If not done beforehand, disconnect the pump from the machine, drain it as much as possible, then place it on a waist high table.
Use a 6 mm socket head to remove the five (5) bolts securing the cover.
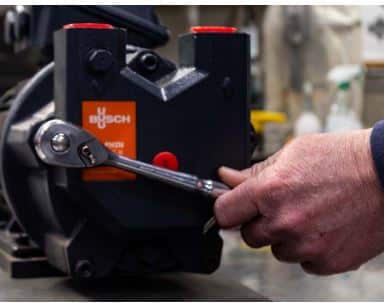
Remove the cover.

Use a cloth to soak up any spilled oil.
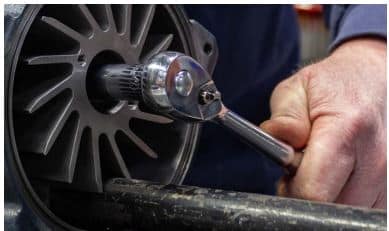
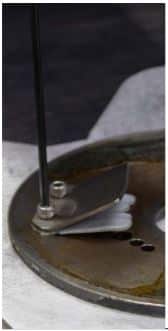
Immobilize the impeller by wedging a 1-1¼” pipe in-between the blades.

Use the spanner wrench to remove the sealing nut. Inspect, then replace the o-ring if necessary.

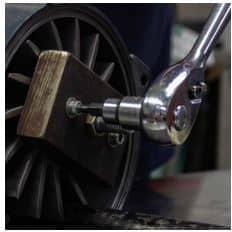
Measure the distance between the casing and impeller with a filler gauge and straight edge.
Note: record the distance and use it to set the impeller blade during reassembly

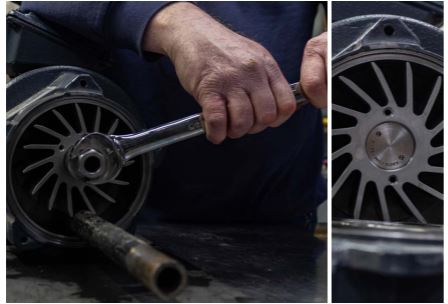
Remove the nut with a ½” socket wrench.
Install the puller plate onto the impeller blade with a 4 mm socket wrench.
Screw the slide hammer onto the puller plate, then pull out the impeller blade.

Remove the puller plate, flip the impeller blade upside down, and remove the carbon spring seal with a narrow putty knife. Inspect, clean, then replace the carbon spring seal and o-ring if necessary.

Use the T25 socket wrench to remove the countersunk screw from the port plate, then remove it from the end casing and dispose of it.

Clean and re-oil (wayoil).
Use a 5 mm socket wrench to verify the reed valve is correctly placed and secured before installing the new port plate.
Inspect, then replace any o-rings as necessary on the pump and pump end cap.
Apply Loctite 243 to the countersunk screw and fasten the port plate to the end casing – set aside.
Note: line up the port plate with the middle and bottom bolt.
Reattach the carbon spring seal to the impeller blade, then re-seat it onto motor shaft.
Immobilize the impeller by wedging a 1-1¼” pipe in between the blades, then secure the impeller blade bolt with a ½” socket wrench.

Use the previously recorded feeler gauge measurement to correctly place the impeller blade.

Use the spanner wrench to secure the sealing nut.
Use the 6 mm socket head to reattach the five (5) bolts, securing the cover. Insert the drain plug.

Put pump back into service, see How to Replace 3HP Vacuum Pump link below.
Other Helpful Guides:
How to Replace 3HP Vacuum Pump