
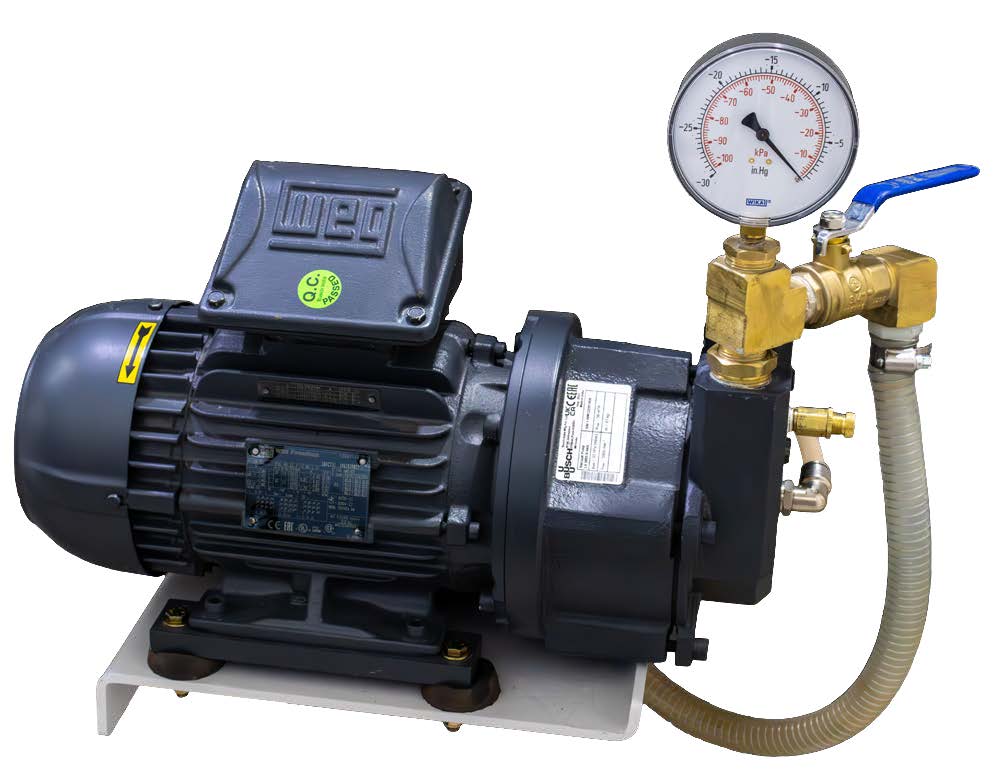
This is a step by step guide on how to replace the Vacuum Pump on a Titan 4K machine.
Scan to View on Mobile Device

Tools List
- 10 mm socket or open end wrench
- 5/8″ Wrench
- Adjustable Wrench
- Loctite 567
- 7 mm socket or open end wrench
- 5/16″ nut driver
- 9/16″ Wrench
- Monkey Wrench or Pipe Wrench
- 3/4″ Wrench
- 1/2″ Wrench
Printer Friendly PDF Below
Turn off the water, air and power at the source and machine.
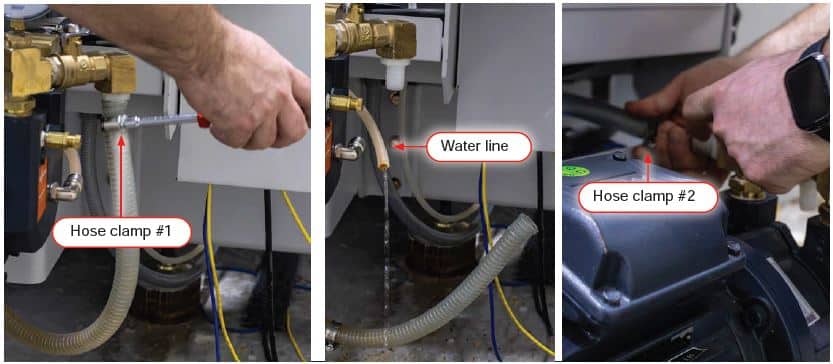
Disconnect the water lines from the pump.
Note: allow the water to drain after disconnecting the water hookup.
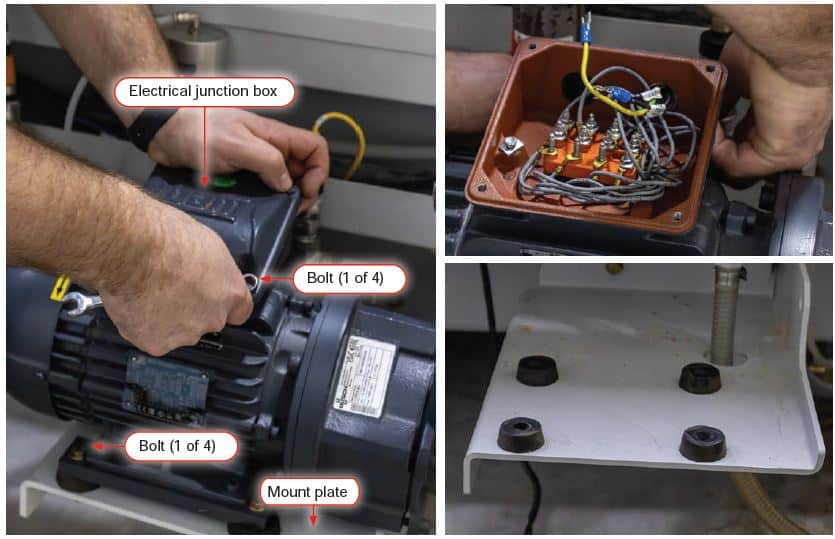
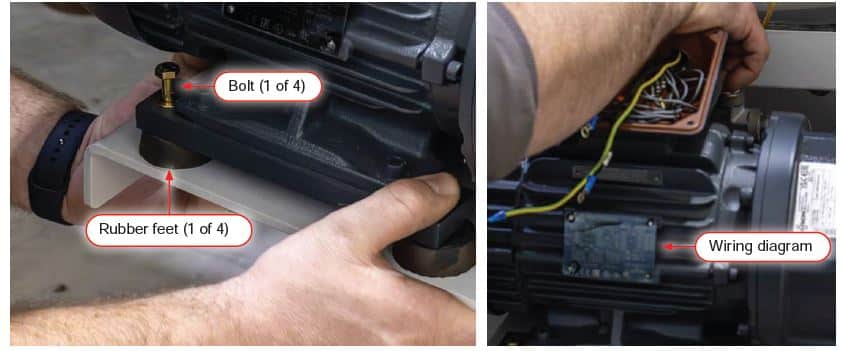
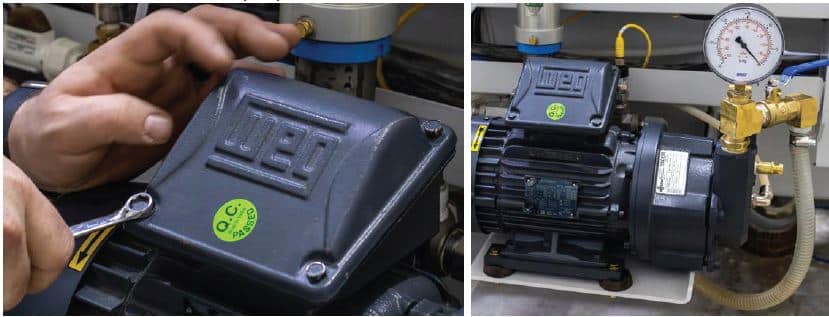
Unscrew the 4 bolts for the electrical junction box cover
Remove the wired connections and pull them through the cord connector.
Remove the 4 bolts securing the pump to the mount plate.
Remove the pump.
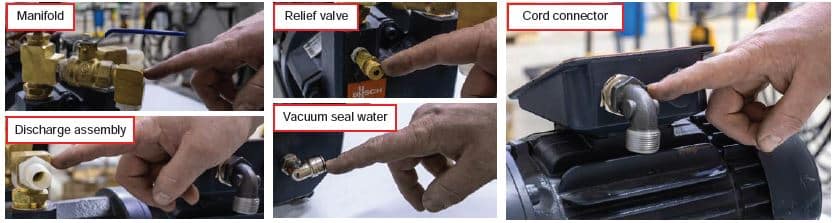
Strip the old pump: remove the manifold, discharge assembly, relief valve and fittings.
Note: Check for wear and tear; replace if necessary.
Attach the manifold, discharge assembly, relief valve, vacuum seal water and cord connector to the new pump.
Pass the bolts through the pump, rubber feet, and mount plate; attach and tighten a nut onto the bolt’s threaded end to secure the new pump to the machine.
Note: avoid flattening the rubber feet as you tighten the bolts.
Thread the wires through the cord connector to the electrical junction box and connect them to the pump.
Note: refer to the wiring diagram when attaching the wires.
Seal the electrical Junction box.
Attach the water lines to the pump.
Turn on the water and power at the source and machine.
Check for leaks.
Quick cycle the pump on and off to confirm a clockwise rotation of the motor.
Note: Watch the fan on the end of the motor. The arrow sticker on the fan shows proper motor rotation
The regulator should read 3 psi or 1.5 gallons per minute from vacuum pump discharge.
Confirm the vacuum relief valve is set correctly. See guide below.
3 HP Vacuum Relief Valve Service Guide
Confirm proper vacuum.
Link