How to properly measure the Destiny Granite Table
Reading the initial Measurements
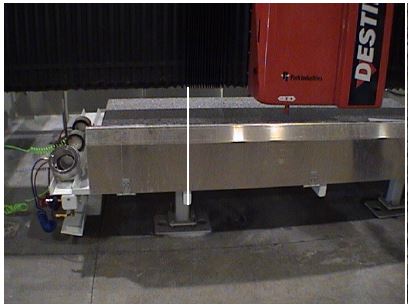
Prepare table surface
- Wipe table down removing water, mud / or dust
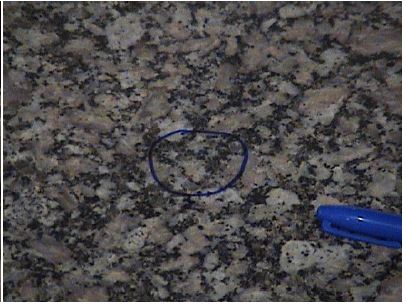
- Make a 2″ diameter circle on top of the table, over each of the four legs of the table
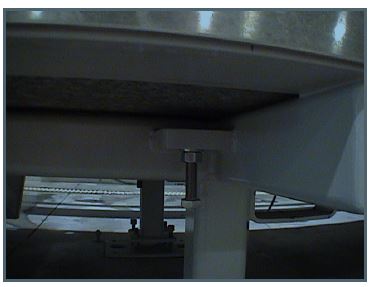
- Assemble the magnetic base and dial indicator

mount the magnetic base to the spindle slide plate under the cover
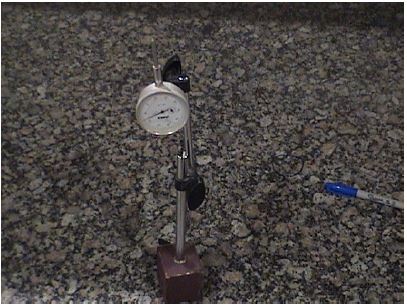
Checking for flatness
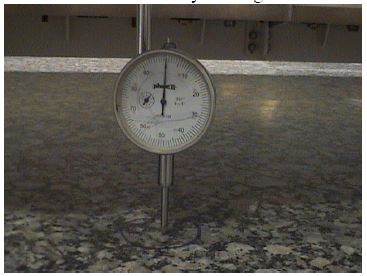
- At the first mark on the table (left, front mark, over post) move the machine with the
Pendant so the Dial indicator is over this circle. - Move spindle down so that the Dial indicator reads 2 on the small dial and that the large pointer is pointing up.
- Zero the indicator by turning the dial bezel.
adjusting the table feet

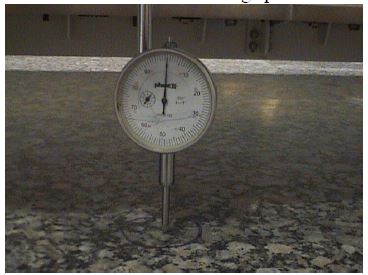
- Using the pendant move the Dial Indicator to the lowest position.
- Under the table, loosen the anchor bolts that correspond with the location of the lowest spot, observe the indicator
- The Dial Indicator will move for any action taken at the leveling pad.
- Make adjustments to the leveling bolts evenly on the pad.
- Always make very small adjustments and check often.
- If there is more than one section that needs to be raised, do a little on each leg and not all at once.
- When you tighten the anchor bolts move the indicator over the section that you are working on and tighten the anchor bolts slowly.
- You may have to adjust the leveling bolt to counter act any movement the anchoring bolt may cause.
- Recheck all four positions.
Table overall FLATNESS
- At this point no more adjustments will be made to the table legs.
- Check the edge and the center of the table for flatness.
- Position the indicator over front left front table leg and zero the dial indicator with the small dial on 2 and the large pointer strait up.

- Move the machine so that the Dial indicator is left of the post and 2 inches from the edge. Note the reading on the indicator.
double checking accuracy
Using the pendant move the indicator around the edge of the table. Note the reading on the indicator at each of these 6 points
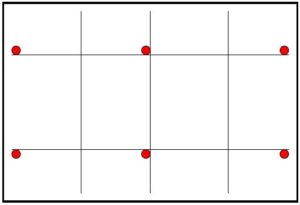
- To affect the table at any of these points you must loosen the bolts that anchor the table to the table frame. If they are too tight they will pull the edges of the table down while raising the center. If these bolts are loose and the center is still too high, leave the bolt loose and monitor the center of the table over the course of a few days. It may take time for the table to settle down. This will not prevent you from using the table.
- When you are satisfied with the table flatness, snug the table to frame anchor bolts. If you over tighten it will pull the edges down.