This document goes through how to clean the abrasive mini hopper.
Scan to Read on Device:

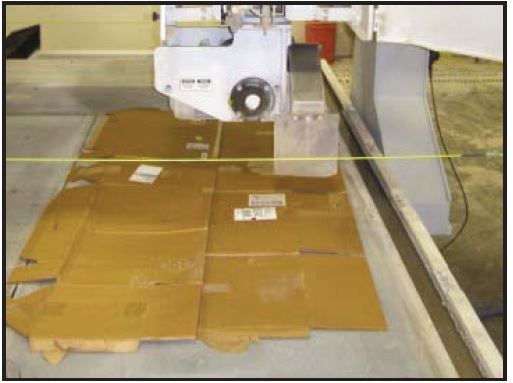
Recommend a piece of cardboard on the table to capture any parts from falling into the tank. The larger the better.
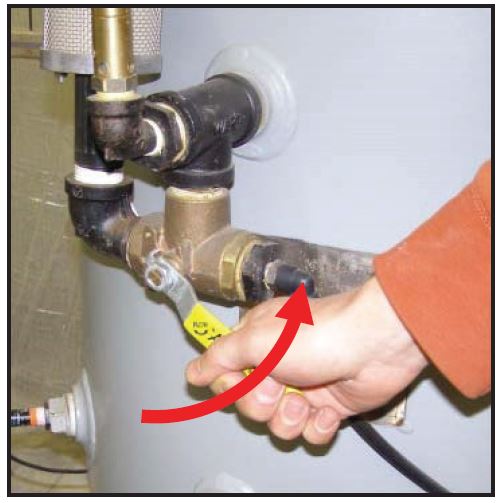
Shut the air off for the main garnet hopper. This will stop garnet flowing to the mini hopper since it is pressurized.
Drain garnet from the hopper as follows:
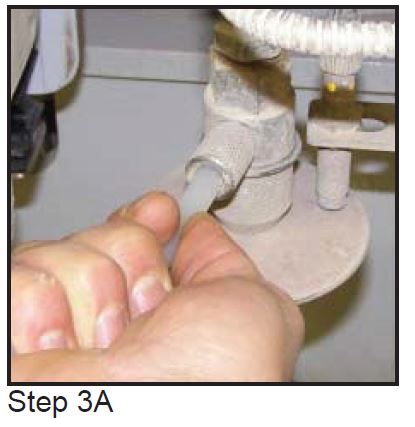
A. Remove garnet line from the mixing chamber and place in a container to catch the garnet that will drain from the abrasive regulator. This line is gravity fed.
B. Press Jet Setup Enable button
C. Press Garnet Valve Open button
(SETUP main tab – SETUP side tab).
D. Wait for abrasive regulator to empty.
E. Press Garnet Valve Closed button.
Below is a screen shot of a Saberjet for reference.

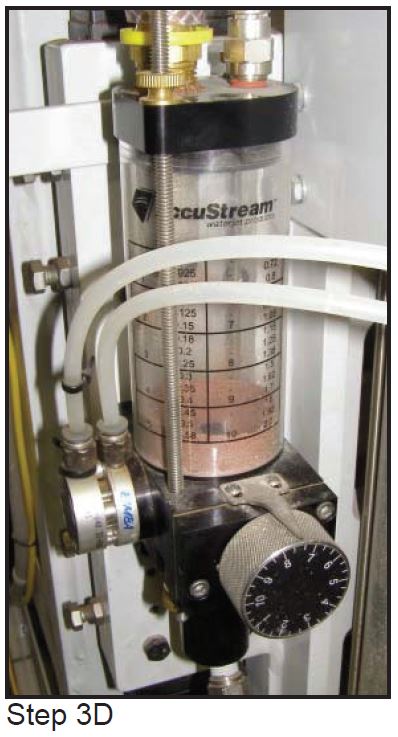
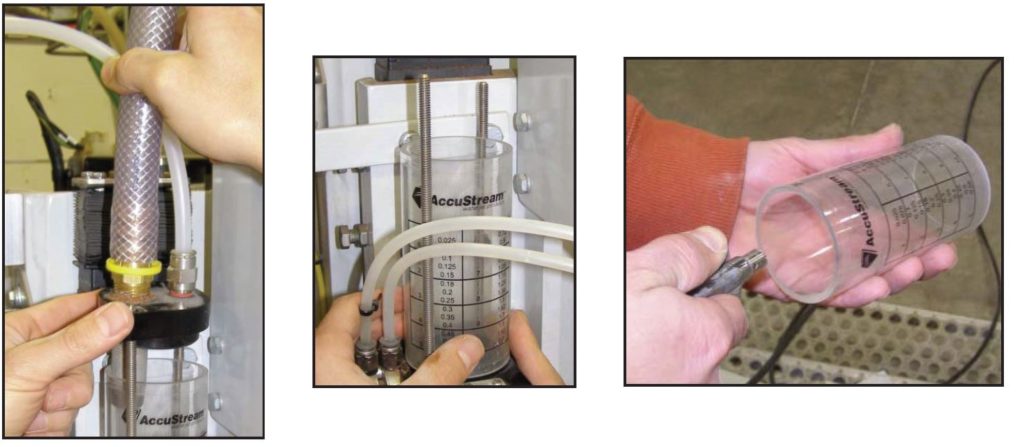
Remove the top two brass nuts from hopper, remove top,remove clear plastic cylinder and clean with air.
Direct air away from water jet head assembly.
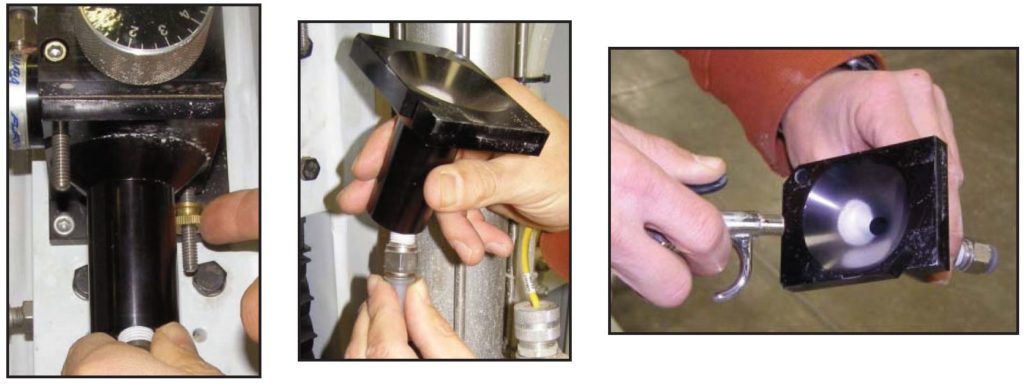
Remove bottom two brass nuts, remove bottom of hopper, and clean with air.
Direct air away from water jet head assembly.
notice
| Note: When cleaning garnet off from components DO NOT use compressed air. Garnet is an extremely abrasive material which can destroy bearings, ways and shafts. Park Industries has placed covers and bellows over the most sensitive components to protect them during normal operation. Compressed air may force garnet into some of the protected areas. |
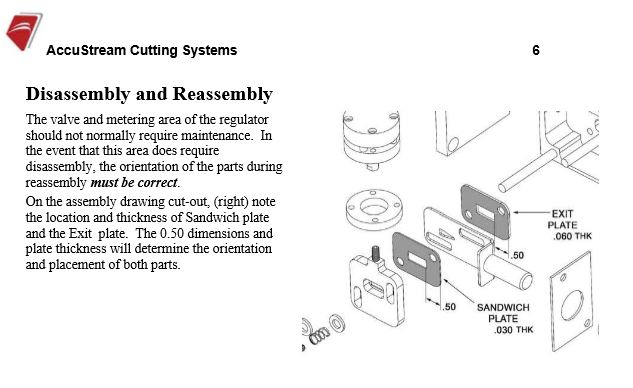
Vacuum all excess garnet from the top of the abrasive regulator body.
Move vacuum hose to bottom of hopper and then rotate the knob during this process to clean the slide plates. If you need you may disassemble and clean and reassemble the parts.
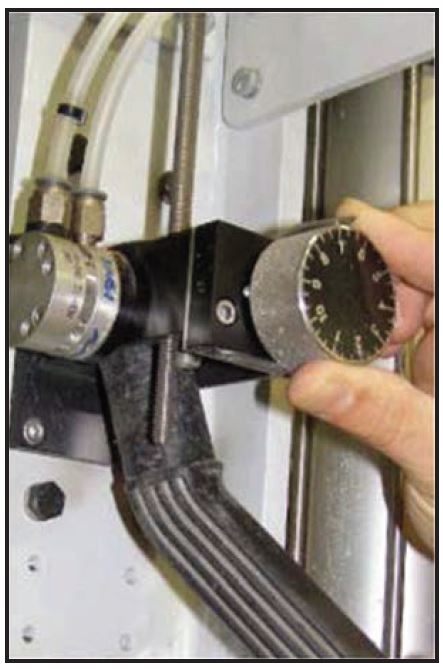
Move vacuum hose to top of hopper. Rotate the knob during this process to clean the slide plates. When done, return knob to the original setting (typically 8).
Reassemble the hopper:
a. Install the lower part of the abrasive regulator.
b. Replace brass screws.
c. Install the clear plastic cylinder.
d. Install the top of the abrasive regulator.
e. Replace brass screws.
f. Make sure all parts line up and fit tight.
g. Tighten the brass screws.

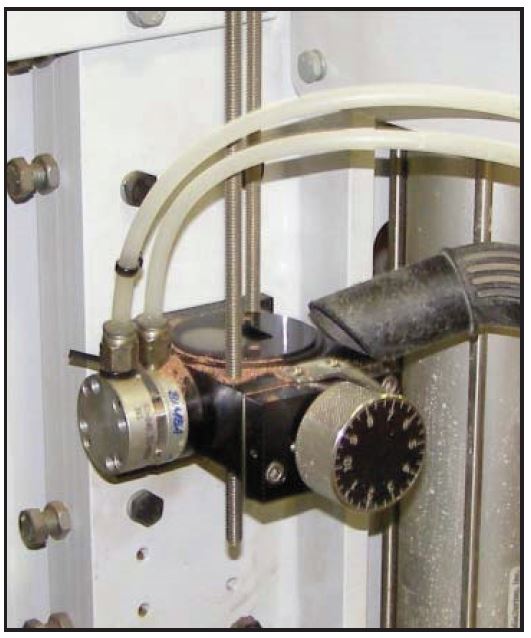
Replace hose from the mixing chamber to the bottom of hopper, be sure it goes through the bracket for the flow sensor.
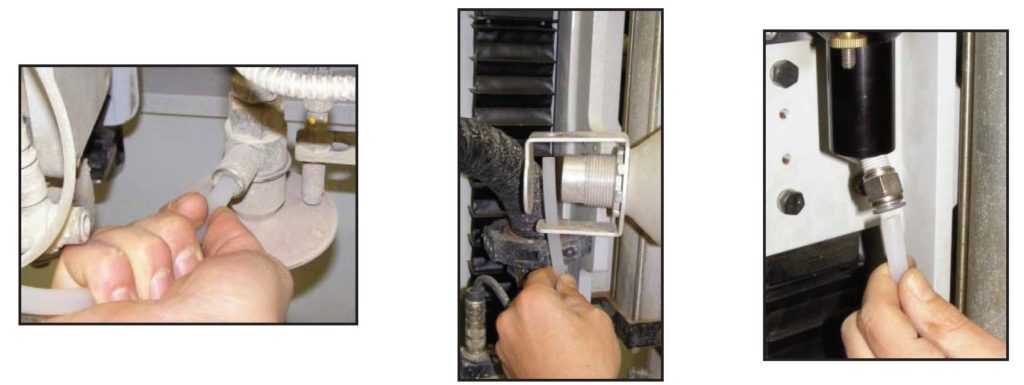
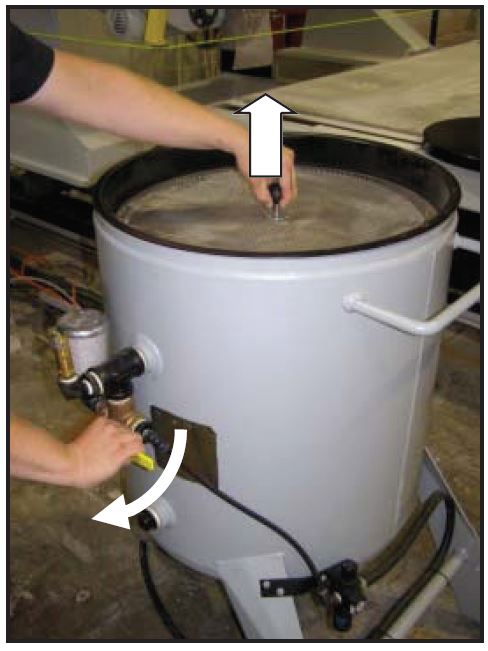
While pulling up on the pop-up valve ball handle, turn the air back on for the Main hopper. Wait for the abrasive regulator to fill up with garnet.