
Per the recommendation of the chiller manufacturer we are changing-over from automotive type ethylene glycol to Dowfrost propylene glycol at a higher concentration.
Warning! Please read first!
A. Read these instructions completely prior to starting the retrofit procedure!
B. Failure to implement this change in a timely manner may result in voiding of the chiller warranty!
C. Coolant is toxic and must be captured and disposed of properly!
Required Tools for Procedure: 5 gallon bucket with lid, Funnel, Utility Knife, Drill with 5/16″ Nut driver, Tape Measure
preview the outline to avoid mistakes or accidents

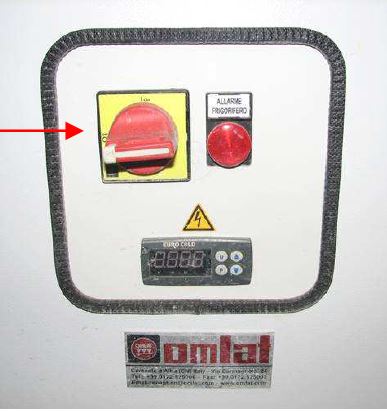
TURN OFF the Chiller.
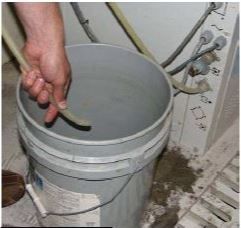
Make sure the bucket is ready. The chiller will need to be turned on to pump the coolant into the Bucket.
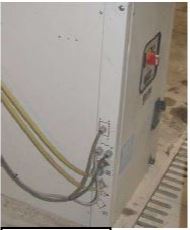
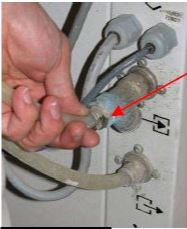
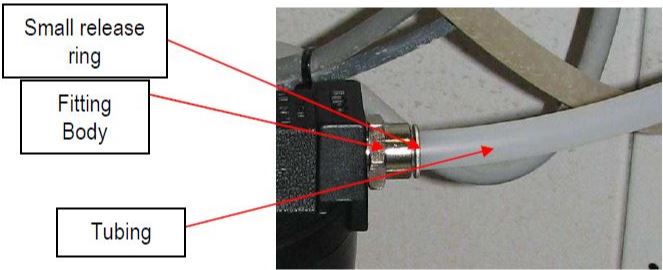
The coolant lines are connected using a quick connect fitting. To release the hose push the small ring toward the fitting and pull on the hose. It should free quite easily.
Turn the chiller back on – after a few seconds it should start to fill the bucket. When it starts to sputter or stops pumping turn the chiller off again.
Refill the system with tap water until it is visible in the sight glass.
Continue flushing and refilling the system until a 5 gallon bucket has been filled. Remove the drain cap – the coolant has been flushed out enough that the remaining water will be safe to pour down a municipal drain. Properly dispose of coolant and water collected in the bucket during flushing.
Reattach the return line to the chiller.
Fill with distilled water until it is visible in the sight glassTurn the chiller on and let it circulate for 20 minutes.
Repeat steps 1-3 (It can be sent down the drain instead of using a bucket).
The coolant lines are connected using a quick connect fitting. To release the hose push the small ring toward the fitting and pull on the hose. It should free quite easily.
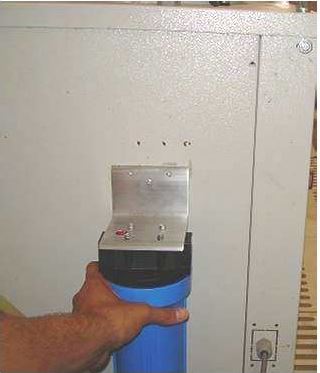
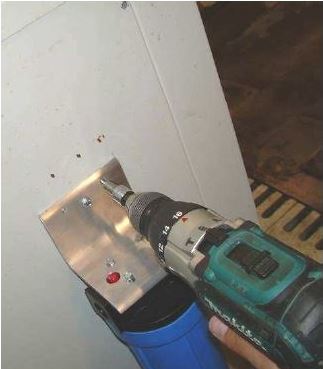
If another mount location is needed, verify that nothing is behind the sheet metal at that location. Place the upper RH corner of the mount bracket at the mark and drive in the self tapping screws using a drill and 5/16” nut driver
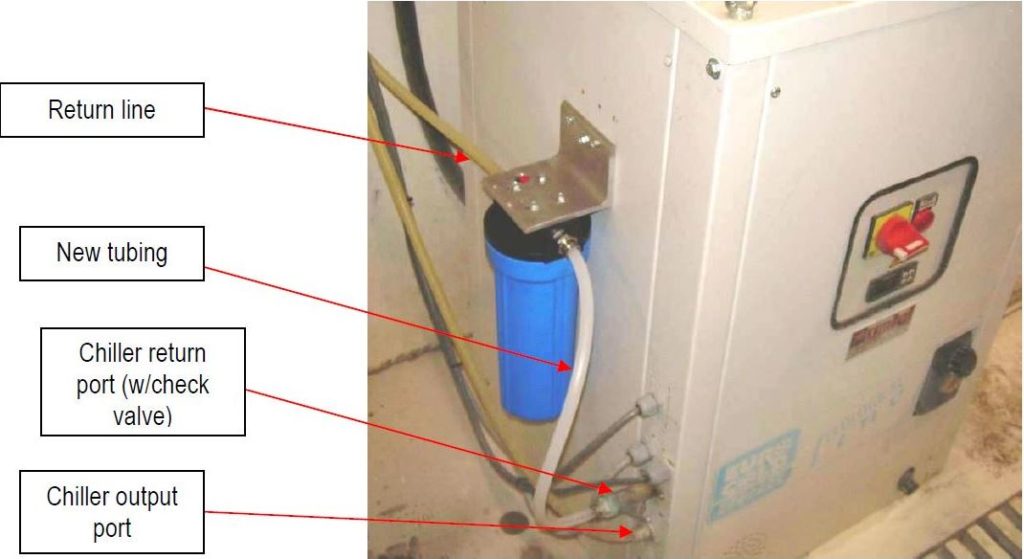
Next Trim and attach the plumbing lines as follows:
a. The return line gets trimmed to the desired length and attached at the filter port nearest the red button.
b. The new tubing runs from the opposite side back into the chiller return port.
Verify that all of the lines are connected and the drain cap is on.
Add 1.5 gallons of Dowfrost and then fill with distilled water until it is visible in the sight glass. Turn the chiller on – this will start the pump which will refill the system – continue adding distilled water until the level is maintained at the dot in the sight glass. Note: Reverse Osmosis or Deionized water may be used in place of distilled. Verify that there aren’t any leaking fittings or connections.
Resume normal operation.
NOTE:
Replace the filter element (10 inch, 20 micron) every 6 months
and repeat the flush process every year!