This guide shows how to service the gripper set for an Omlat spindle.
Scan to Watch on Mobile Device:

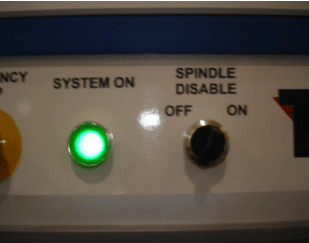
Make sure your machine is powered up, the CNC Router Software is running and the system is on. Turn your SPINDLE DISABLE to the ON position.
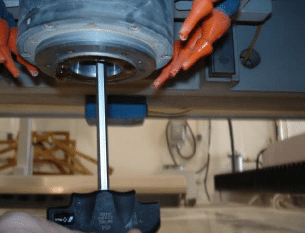
Press the Tool Release button and remove the tool in the spindle if present. After the tool is out, while the spindle is still unclamped , insert the T-handle Allen wrench and turn in a counter-clockwise (looking up) direction.
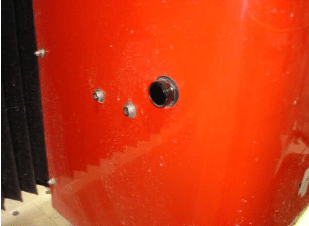
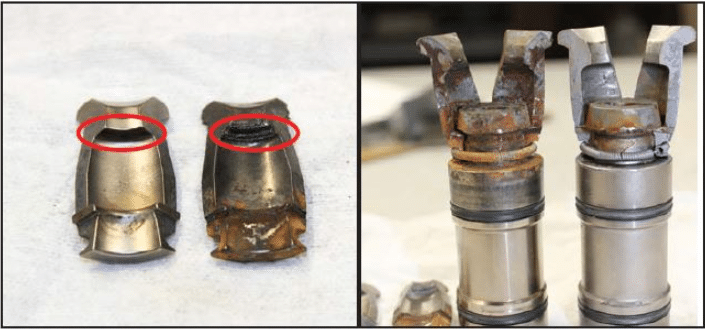
The clamping set should be loose enough to drop out now. (Go to step 6 if the spindle is turning and the clamping set will not come loose.) Using a flashlight look into the opening of the spindle and check for rust, corrosion or damage.
Clean and inspect fingers for wear, damage, and worn-out fingers and replace if needed.
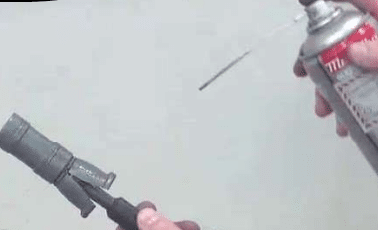
Install the clamping set by placing it on the Allen wrench, apply Meta Flux, pressing the Tool Release button, inserting it into the spindle opening and turning clockwise (looking up) until it feels tight. Release and repress the Tool Release button 10 times and recheck for tightness with tool release button pressed.
ONLY USE THIS STEP IF YOUR SPINDLE IS TURNING WHILE TRYING TO REMOVE THE CLAMPING SET. DO NOT USE THE WATER UNION NUT TO HOLD THE SPINDLE! Use an open end wrench to hold the DRAWBAR NUT (the round with 2 flat sides) while you unscrew the clamping set.
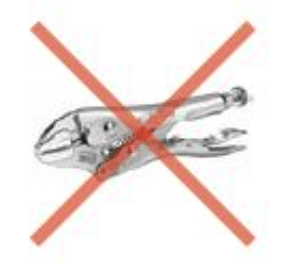
NEVER use a plier or vise-grip type tool, this will distort the shaft and cause the bearings to fail prematurely.