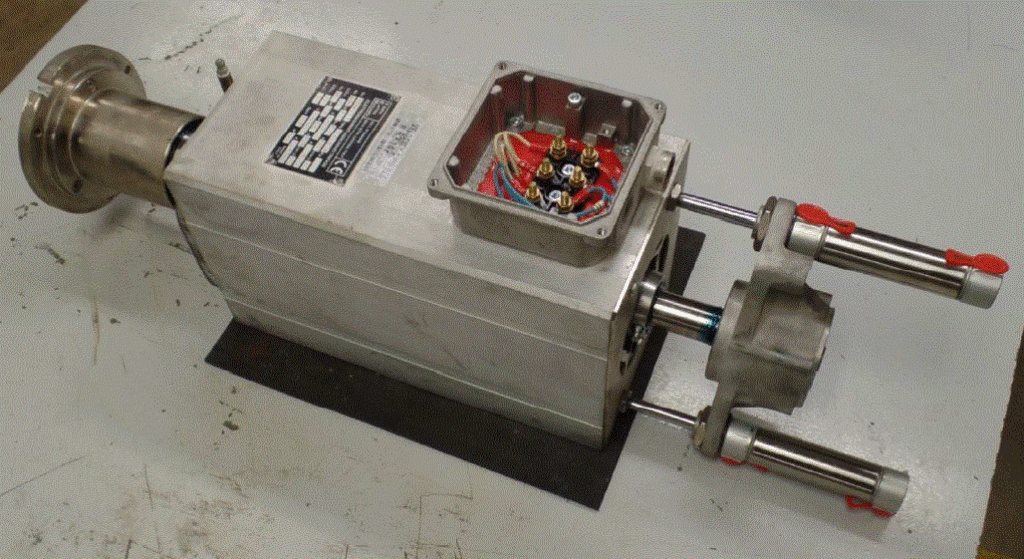
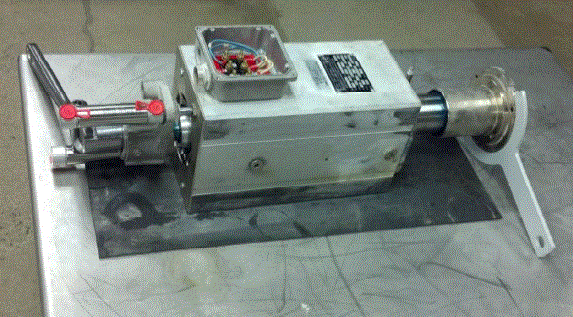
This procedure will work on the Pro Edge II thru IV and Velocity polishing spindles.
Scan to Read on Device:

skill level 3

estimated time to complete: 4-5 hours
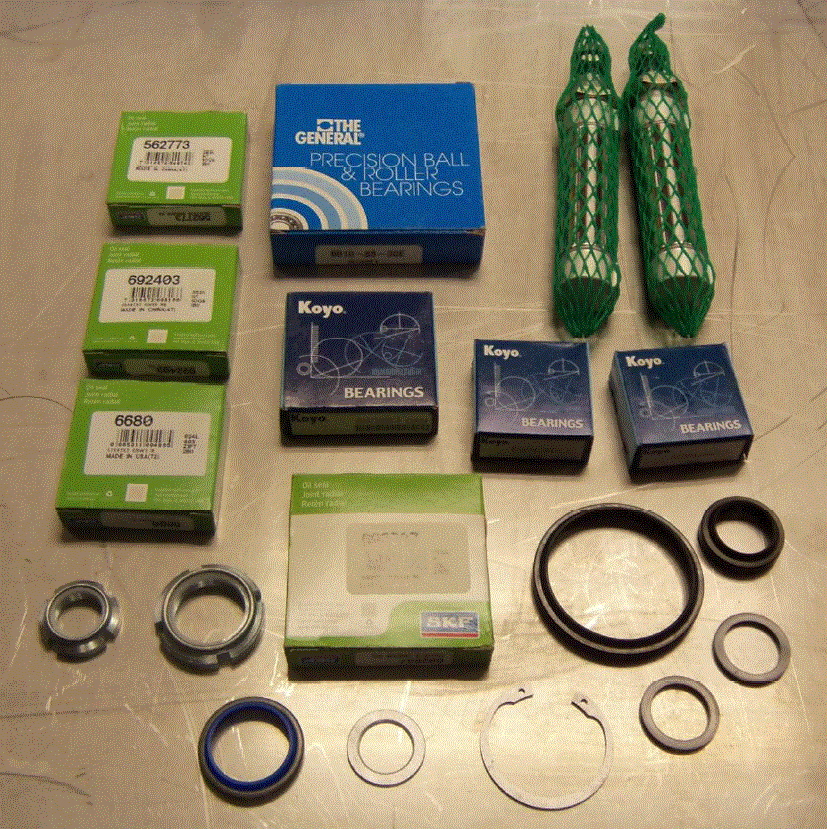
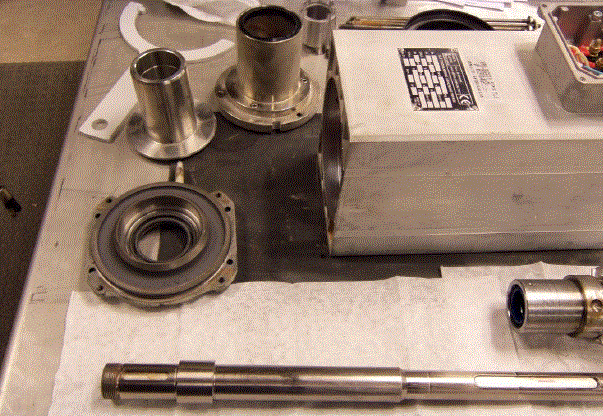
Rebuild kit contains all parts necessary.
Park Part # 65672
Tools Required:
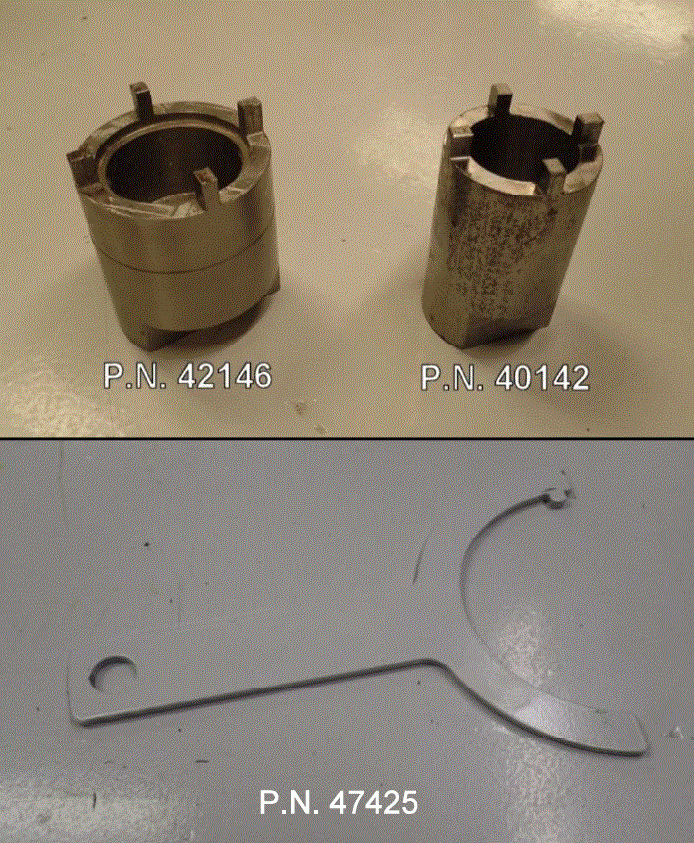
- Part # 40142 20mm spanner wrench
- Part # 42146 30mm spanner wrench
- Part # 47425 Collar wrench
Standard Tools Required:
- Dead blow hammer
- Snap ring pliers
- Metric allen wrench set
- Metric socket set
- Metric wrench set
- Pliers
- Pry bar
- Brass punch
- Crescent wrench
- RTV silicone gasket maker
- All purpose grease
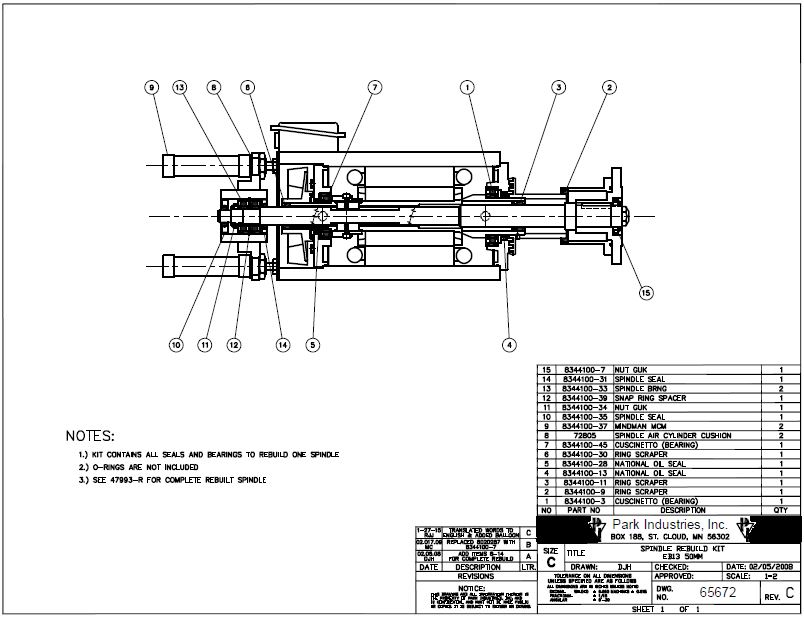
Disassembly
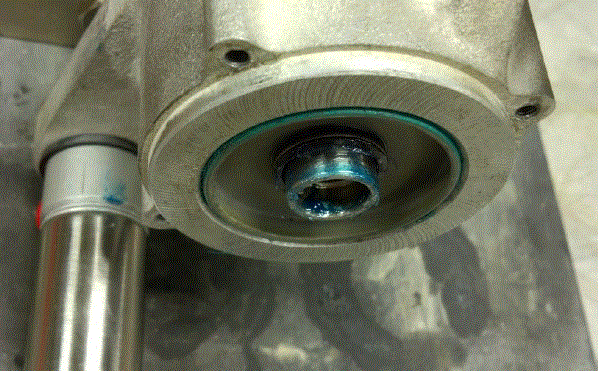
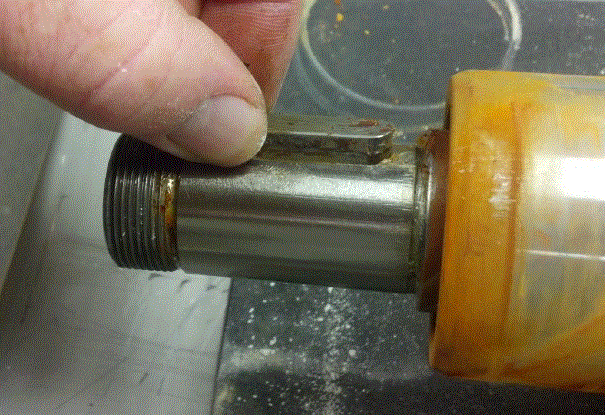
1. Remove water union.
2. Tap on top seal.
3. Remove seal.
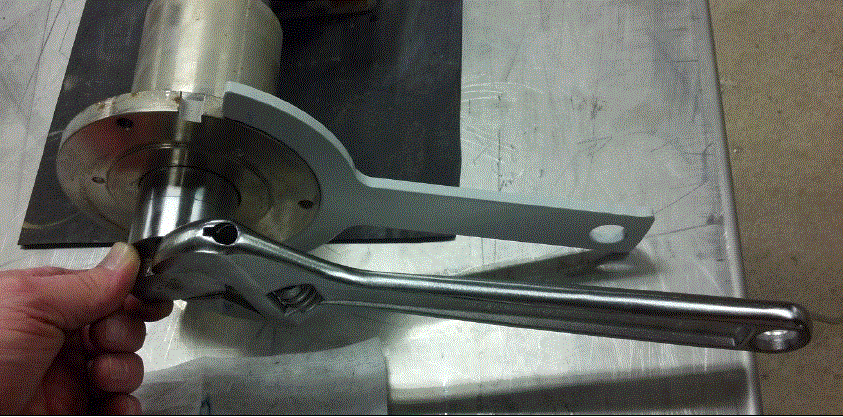
4. Use 20mm spanner wrench to remove nut.
5. Use white plate wrench to prevent shaft from spinning while removing nut.
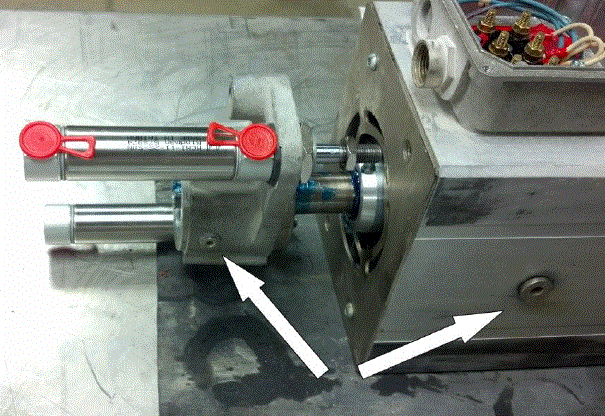
6. Loosen jam nuts and unscrew air cylinder rods from spindle.

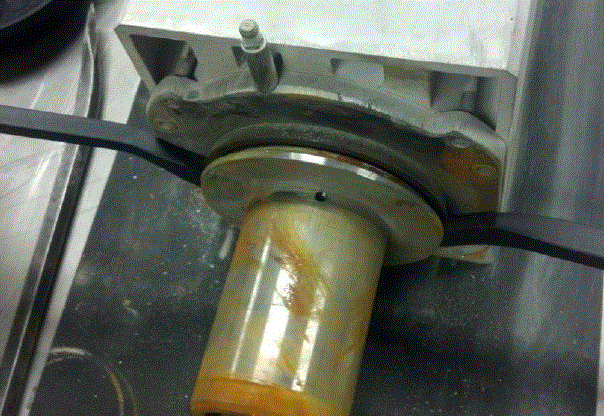
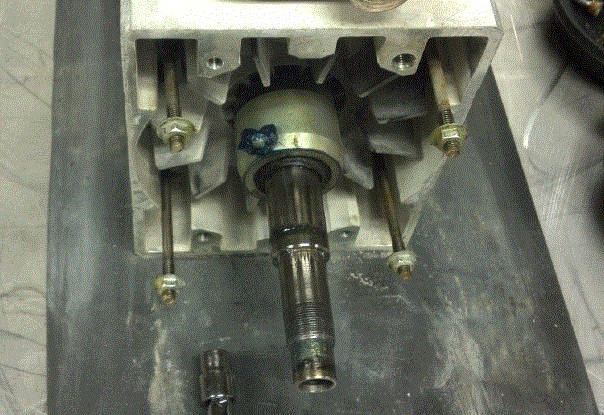
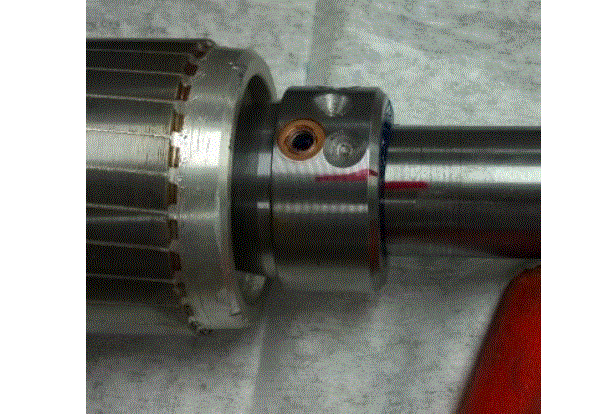
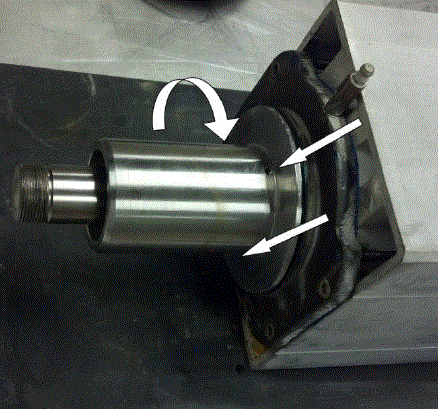
7. Remove yoke assembly by sliding in and forcefully pulling out.

8. Use 30mm spanner wrench to remove tool plate collar nut.
9. Remove the tool plate collar.
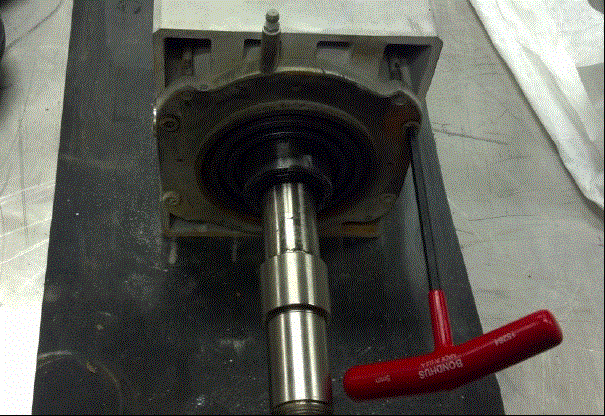
10. Remove the three small set screws.
11. Remove the key stock.
12. Using two pry bars, remove the collar.
13. Remove the four front cover bolts.
14. Remove the remaining two top cover bolts and remove cover.
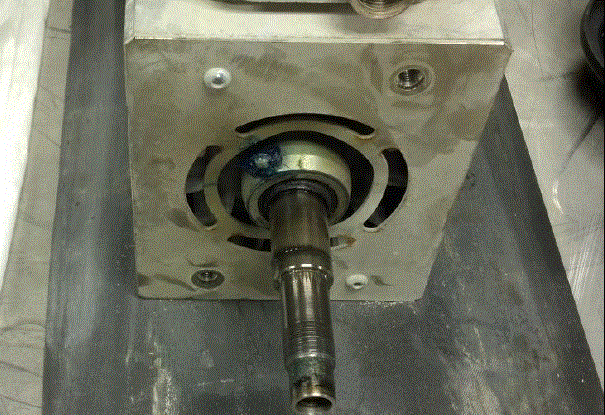
15. Remove the four long bolts holding the assembly together.
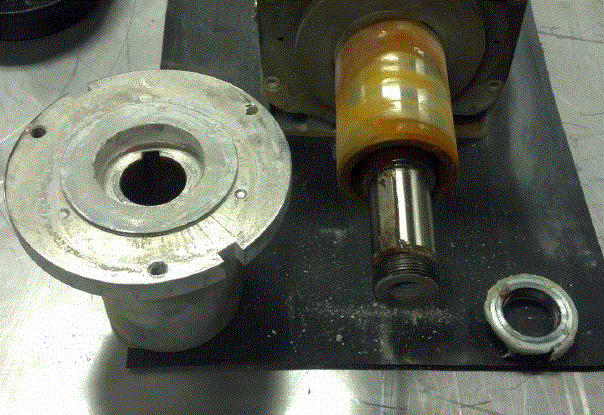
16. Using pry bars, remove the front cover.
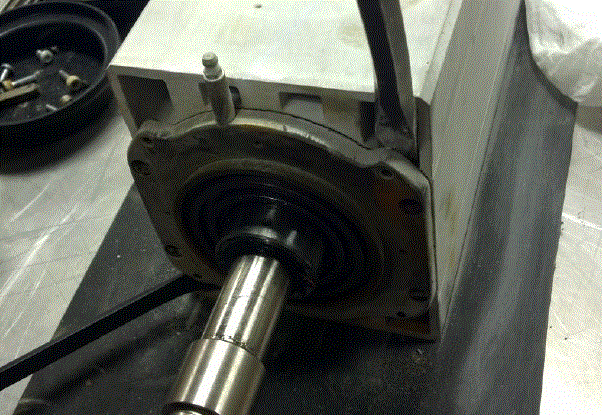
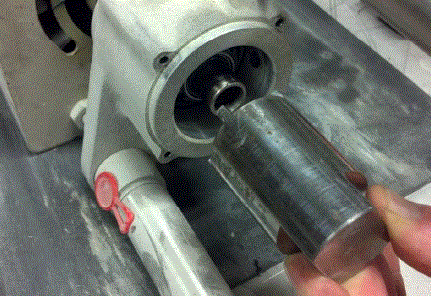
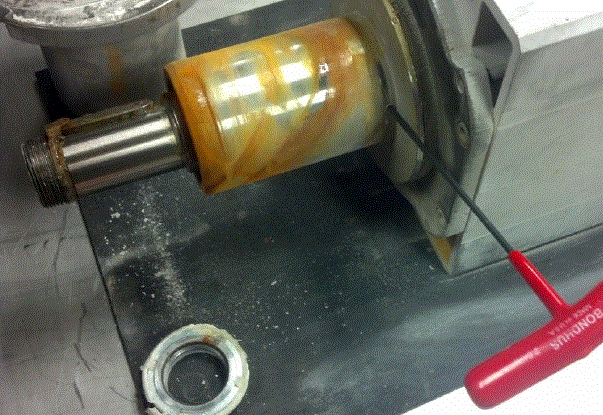
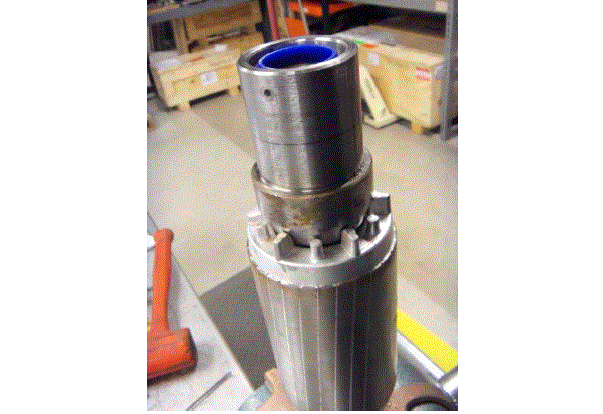
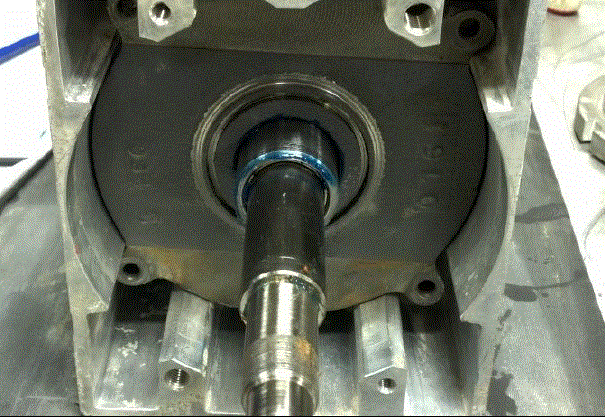
17. Remove rear fan by sliding shaft all the way in and forcefully pulling the shaft out the front.
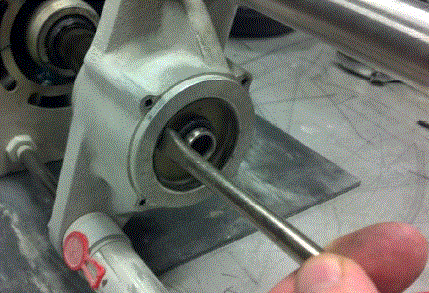
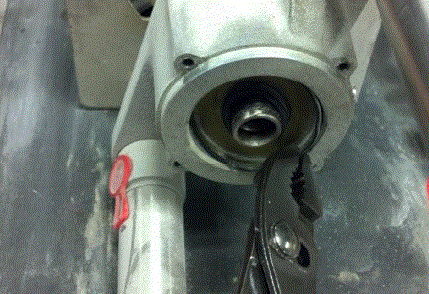
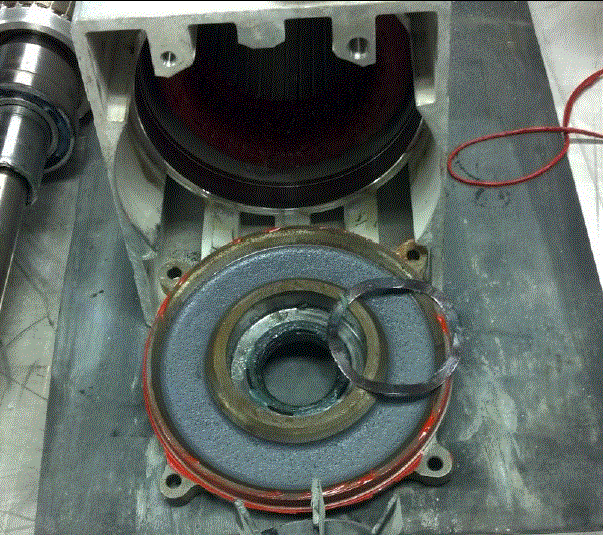
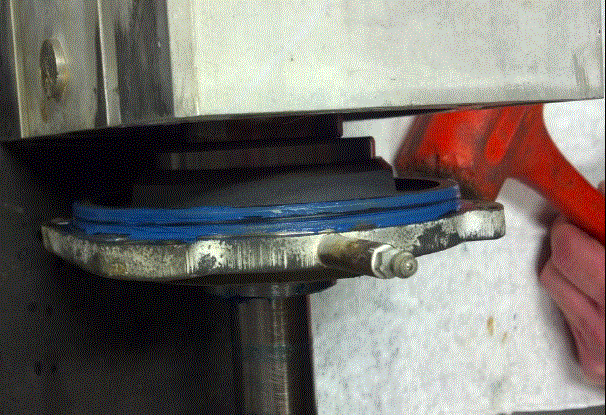
18. Use a long punch to tap the rear cover off.
18-1. Example of rear cover removed.
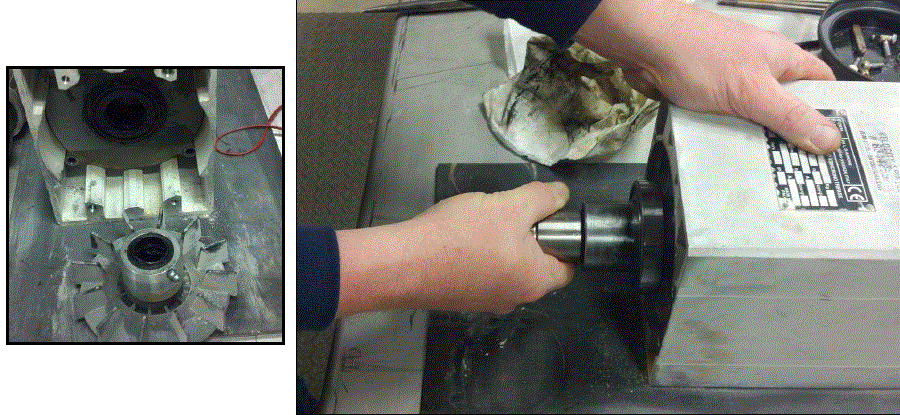
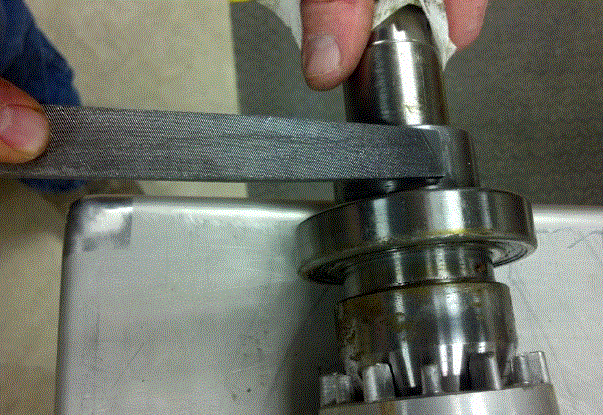
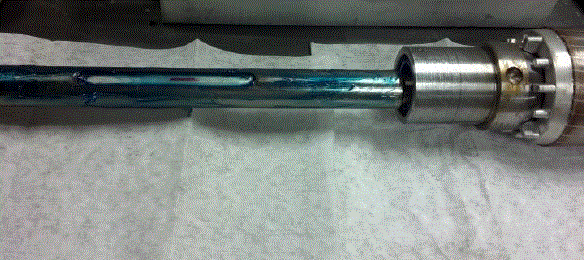
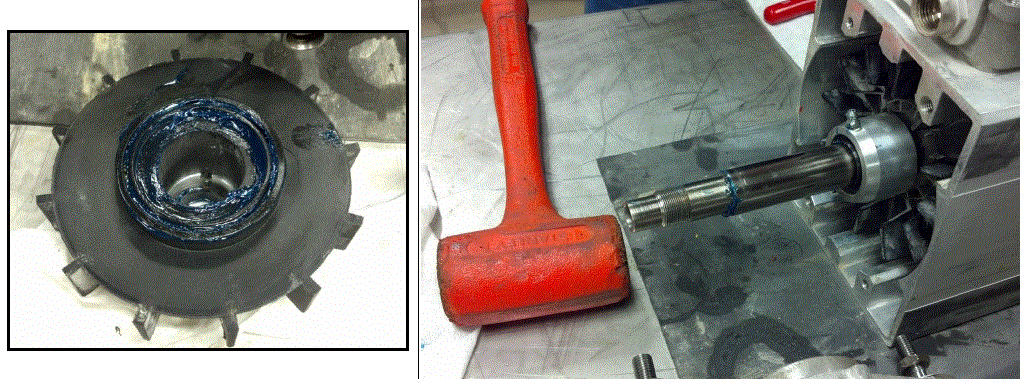
19. Inspect shaft where set screws were located. File off any burrs so bearing will come off.
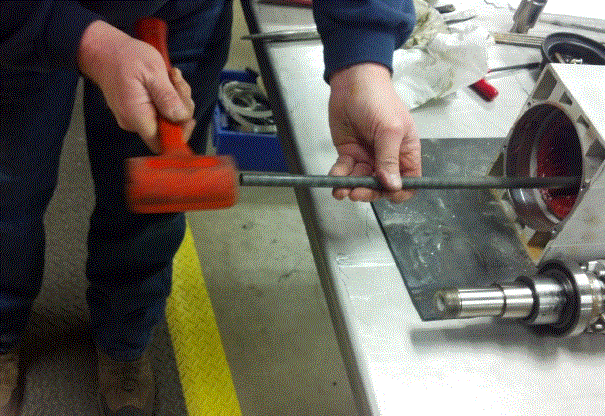
20. Drive bearings off the shaft
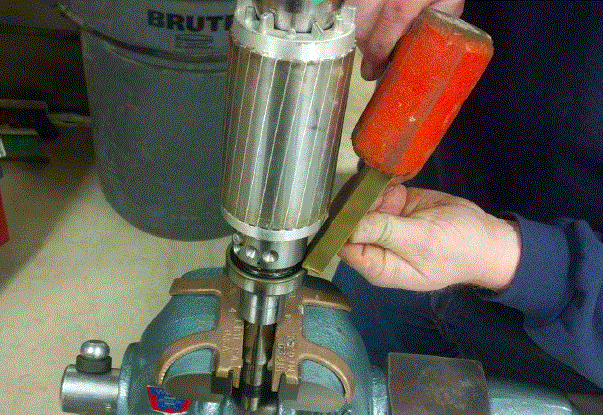
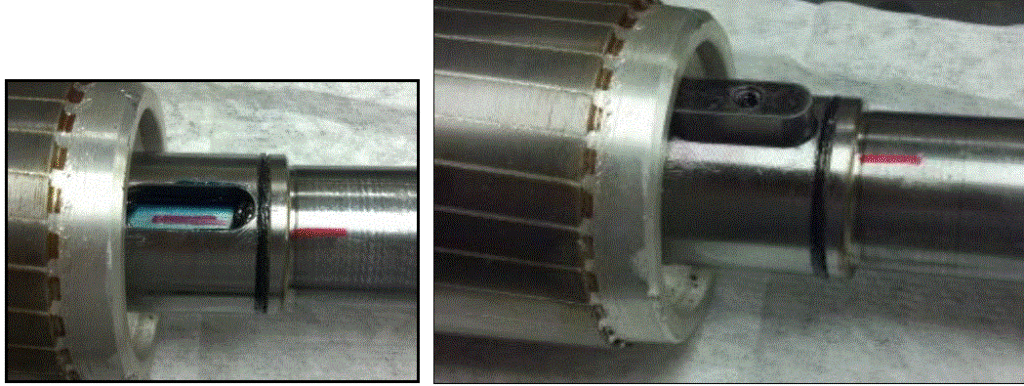
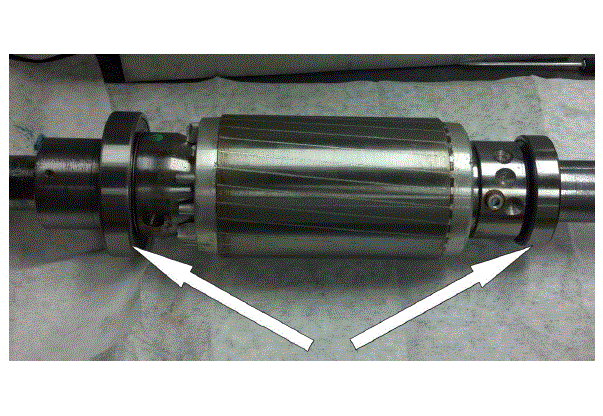
21. Mark the balancing ring as shown. Remove the two bolts.
22. Using pry bars, remove the balance ring.
23. Use the bolt to pull out the two keys.
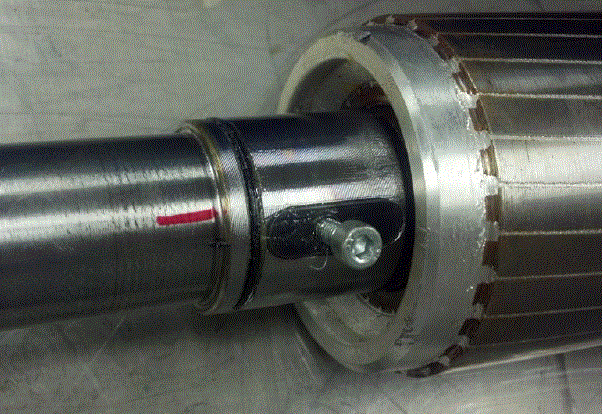
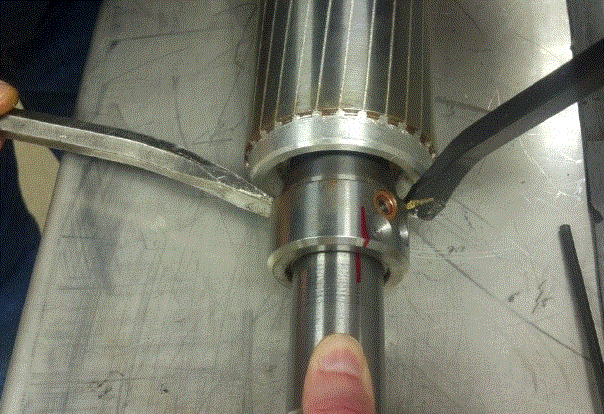
24. Mark the shaft as shown.
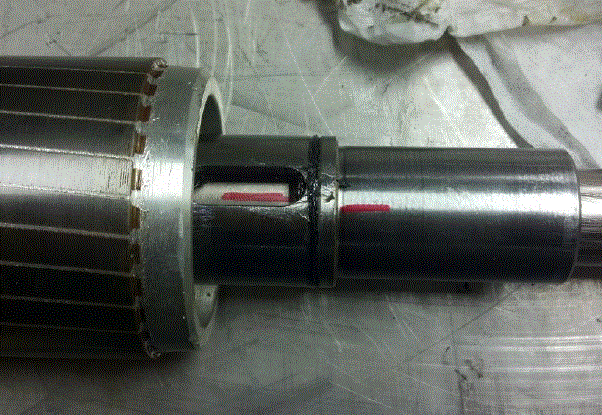
25. Slide the rotor off the shaft.
Re-Assembly
** if rebuilding the yoke, consult Park industries’ yoke rebuild procedure **
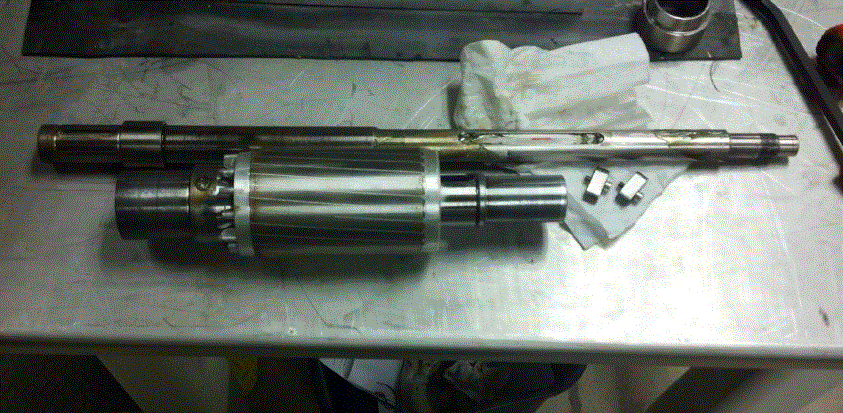
1. Clean all parts.
2. Replace all seals and o-rings.
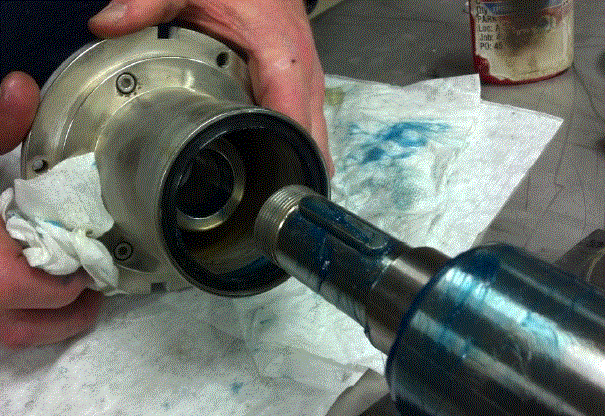
3. Grease shaft and insert into rotor housing.
4. Align marks. Install keys with thicker portion towards the middle of spindle.
5. Slide shaft collar over keys and install bolts.
6. Ensure shaft is free of dings and burrs, then install bearings. Make sure they contact the shoulder.
7. Slide shaft into the spindle housing. Apply a thin coat of RTV silicone gasket maker to front flange. With grease zerk pointed up, bolt the flange to the housing.
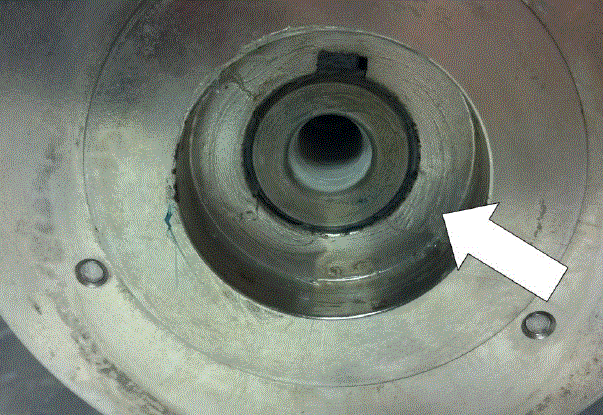
8. Place wavy washer in rear flange bore, apply a thin coat of RTV silicone gasket maker to sealing surface.
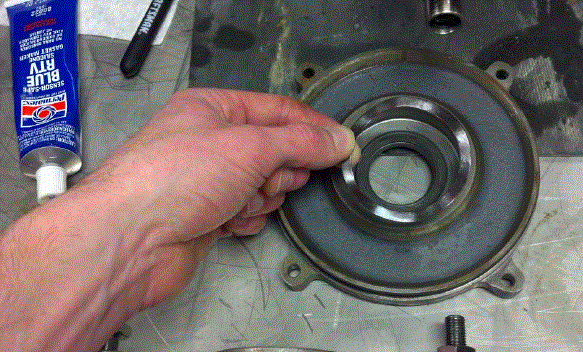
9. Install the rear flange. Do not over tighten.
10. Apply grease to grooves in fan body. Then tap fan into place with a dead blow hammer.
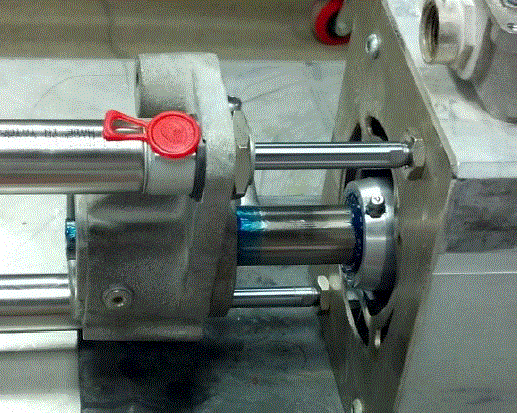
11. Install thin top cover. Then tap yoke onto shaft with a dead blow hammer. Lastly orient yoke so grease fitting is on same side as spindle air purge inlets.
12. Apply Loctite 243 to air cylinder threads. Thread in air cylinder rods and tighten jam nuts.
13. Apply grease to front collar mounting surface. Then install collar and line up three drilled indents where set screws will sit. Lastly using Loctite 243, install and tighten the three set screws.
14. Apply grease to the shaft. Install the key. Slide tool plate collar onto the shaft.
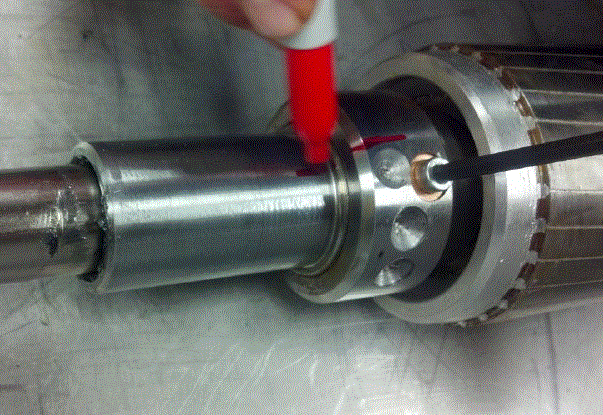
15. Apply a generous amount of silicone to key way slot and surface where nut will mount.
16. Install nut and tighten.

17. Install yoke nut and tighten. If you need to replace the yoke bearings, see that procedure. https://www.parkindustries.com/service/yoke-bearing-replacement/
18. Tap the upper seal into place using a dead blow hammer.