
Step by step guide on how to replace the 3 HP vacuum pump relief valve.
Scan to View on Mobile Device

Tools
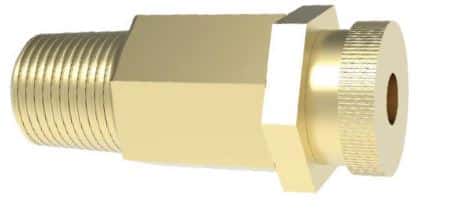
- Replacement Relief Valve
- Adjustable Wrench
- Loctite 567 Thread Sealant or Teflon Tape
- Shop Towels
- 5/8″ Wrench
You can download a printer friendly version below.
Turn off the air, water, and power at the source and machine.
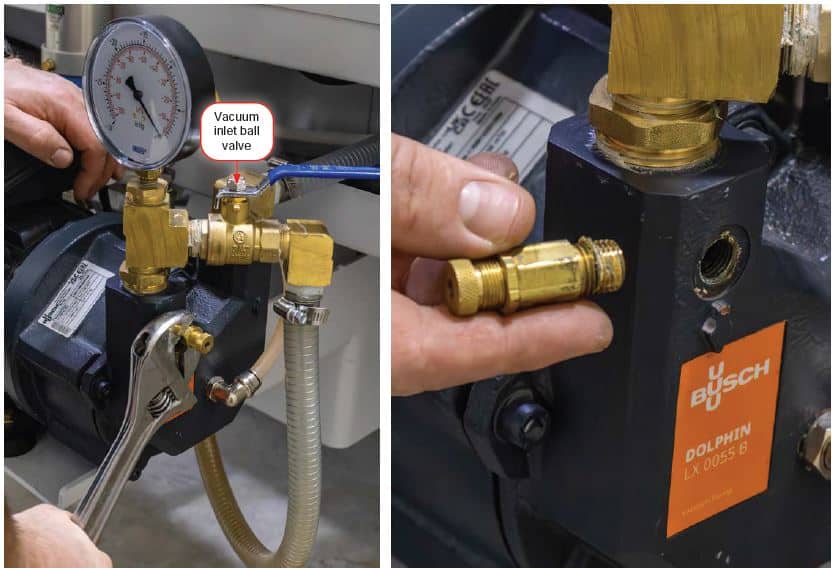
Unscrew the relief from the pump.
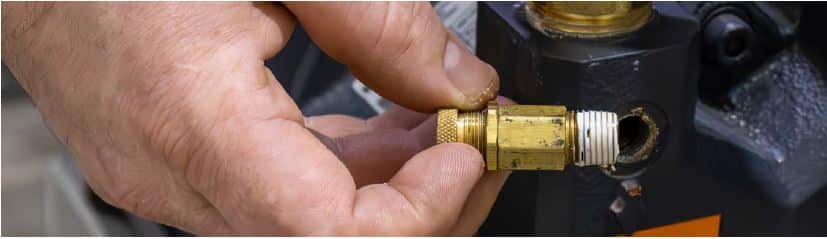
Apply Pipe sealant or Teflon tape to seal the new relief valve.
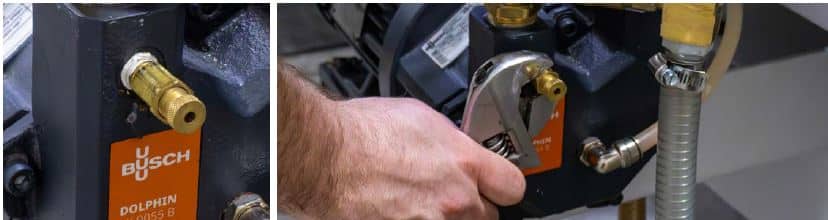
Screw in the new relief.
Loosen the jam nut.
Turn the cap counterclockwise until 6 threads are visible beyond the jam nut.
Turn on the air, water, and power at the source and machine.
Turn the vacuum pump on and confirm a vacuum seal: the regulator should read 3psi or 1.5 gallons per minute from vacuum pump discharge.
If a “hissing” noise is audible, continue to step 10. If a hissing noise is inaudible, turn the cap of the relief counterclockwise until it is.
Note: reference the first picture.
Turn clockwise until you hear a crackling or grinding noise. Turn counterclockwise until the noise is gone, then complete another half turn.
Note: When the relief valve is set correctly, you may hear a rattling noise from the valve.
Once set, tighten the jam nut.
Open the ball valve at the vacuum inlet. Confirm the Vacuum is within normal operating range.

link