
How to guide to replace the Titan 2X00 spindle servo motor.
Scan to READ on Device:

Prep the machine for removal of motor
- Remove tool from spindle
- Park machine in the middle of the table
- Place Plywood or other protective barrier on the table
- Lower the spindle to lowest safe position
- Remove the safety pull cord
- Power down the machine and turn off air and water
- Complete a lockout / tagout for the machine
- Mark and remove the air lines for water deflector.
- Remove the hood off of cross travel covering spindle.
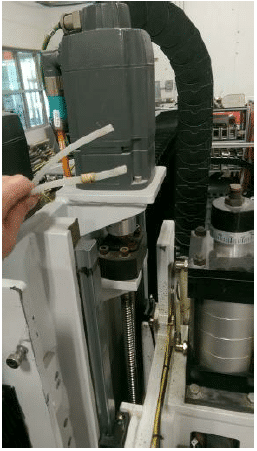
Removing Motor and Wiring
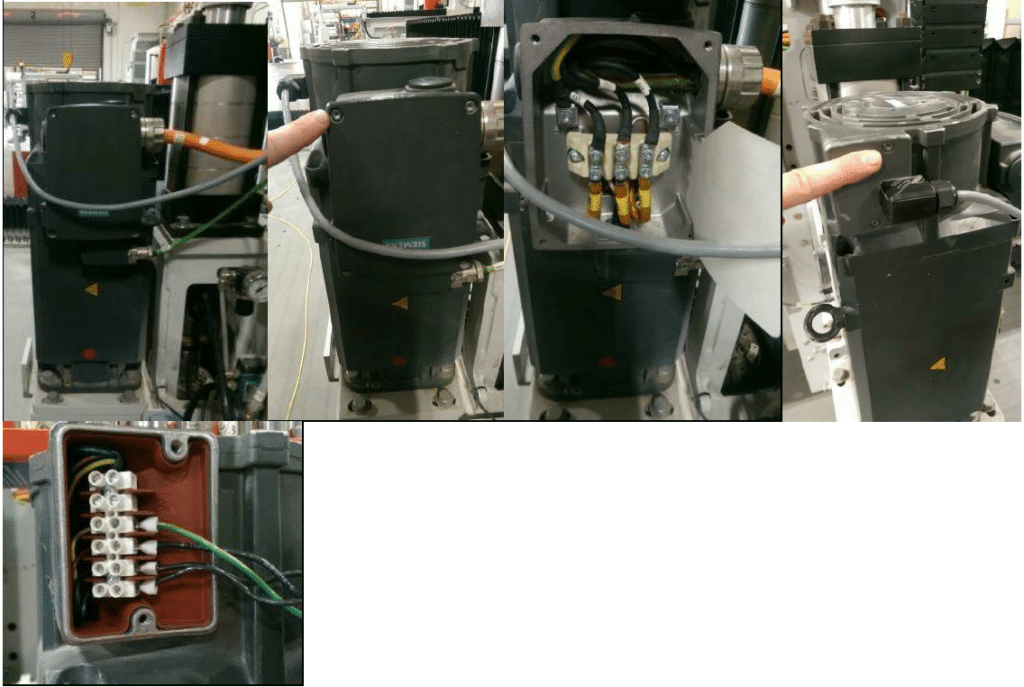
- Remove the cables from the motor. Requires a T20 for fan cord cover and 1/8” flat blade screwdriver for wire removal from terminals.
- Requires a T25 to remove screws for orange power cable cover and wire terminals. Then loosen cord restraint with adjustable pliers.
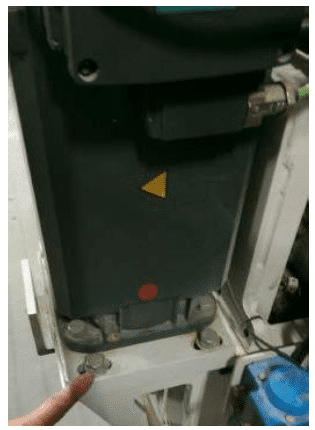
- Loosen the 4 screws in sloted holes with a ¾” box end wrench or socket and rachet and slide motor toward back of machine to loosen the belt tension.
- With a lifting aid hold light tension on the motor.
- Remove the four screws in the slots.
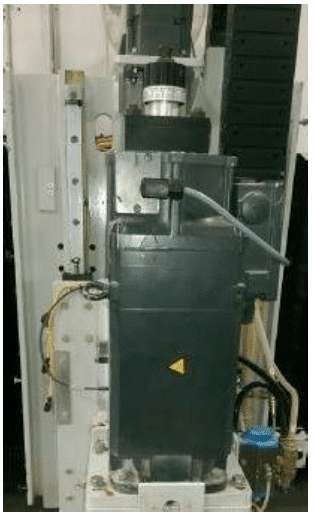
- Remove motor from rise and fall assembly.
- Remove the adapter plate from motor base using the ¾” box end wrench.
- Compare new motor setup to old motor setup.
- May need to move the fan on top to match old motor setup.
- On old motor remove the translock eight screws using a 5 MM allen wrench.
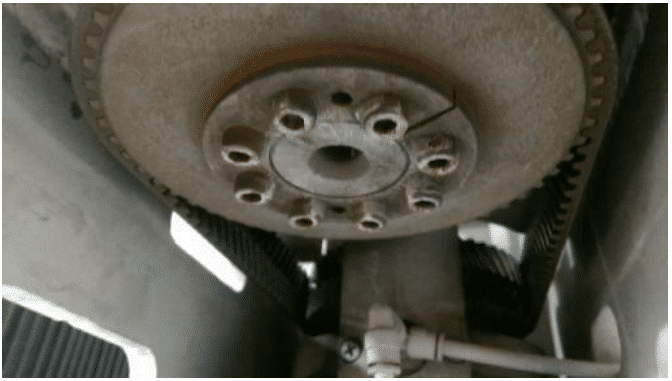
- Thread a couple screws into the threaded holes till tight.
- Now tap on the pulley toward the motor to pop the translock loose.
- Remove pulley and translock from motor shaft.
- Clean the shaft on the new motor.
- Place the pulley and translock onto shaft of motor making certain that the teeth are pointing on pulley in the correct orientation for the belt to engage in it.
- Torque screws to 12.5 ft lbs on translock making sure bottom is staying flush with end of motor shaft.
- Place motor assembly back onto the rise and fall in the correct orientation.
- Place into the adapter plate the 4 screws to secure motor assembly to the rise and fall loosely.
- Put belt on to the pulley.
- Place tensionset device into base plate and tension to proper setting the belt following proper procedure.
- Torque screws through slotted holes to 75 ft-lbs.
- Install the cables.
Machine Setup and Testing
- Install the hood.
- Install the air lines for water curtain.
- Install safety cord.
- Remove lockout/tagout.
- Power up machine.
- Test spindle in manual screen.
- Set spindle orientation following proper procedure.
- Test a couple tool changes.
- Return to production.