The procedure covers the removal, replacement of yoke bearings and seals and assembly.
Skill Level
Estimated to to complete: 1 Hour
- Remove and label air all air lines.
- Remove water union or new style water union bracket.
- Remove large nut from bottom of both air cylinders with a 1-1/16″ wrench. (You might have to hold the cylinder from turning with vise grips at the bottom of cylinder. Be careful not to adjust vise grips too tight causing damage to cylinder!).
- Next loosen the jam nut at the rod end of the cylinder at the rod end of the cylinder and then unscrew the rod from the spindle body.
- Top seal can be removed by tapping on one side with a screw driver and then carefully prying out and then discard it.
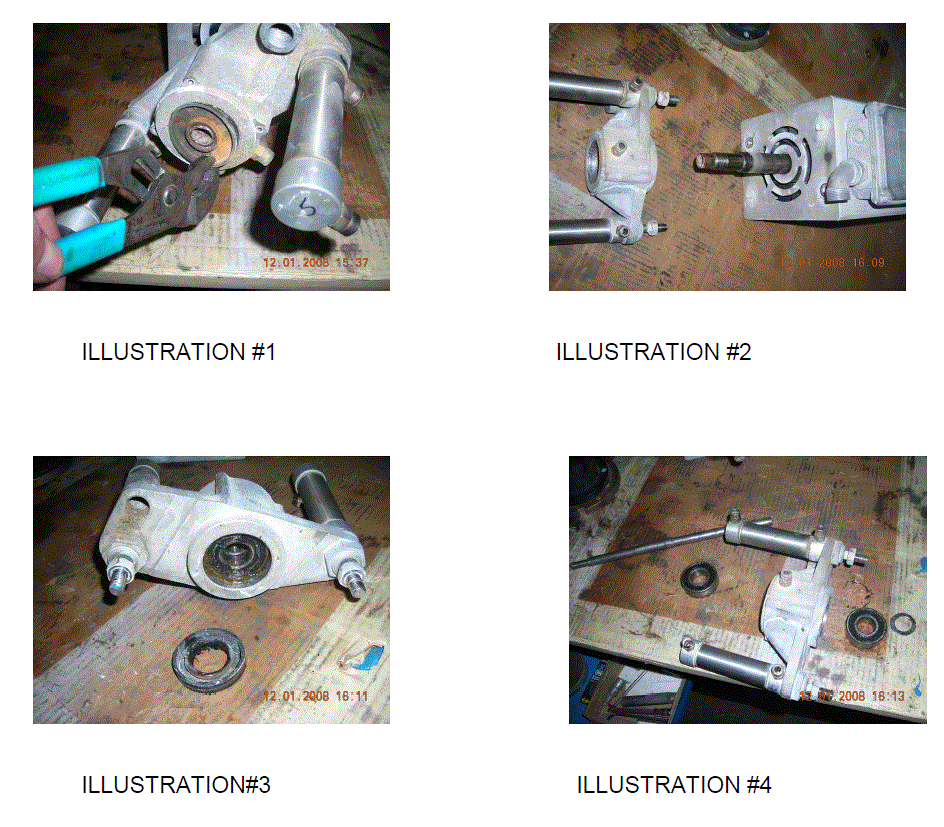
- Place a 3/4″ wrench on the tool adapter plate, located on the spindle head between a mounting screw and the center tool stud for leverage when removing the top yoke bearing nut and then discard the nut.
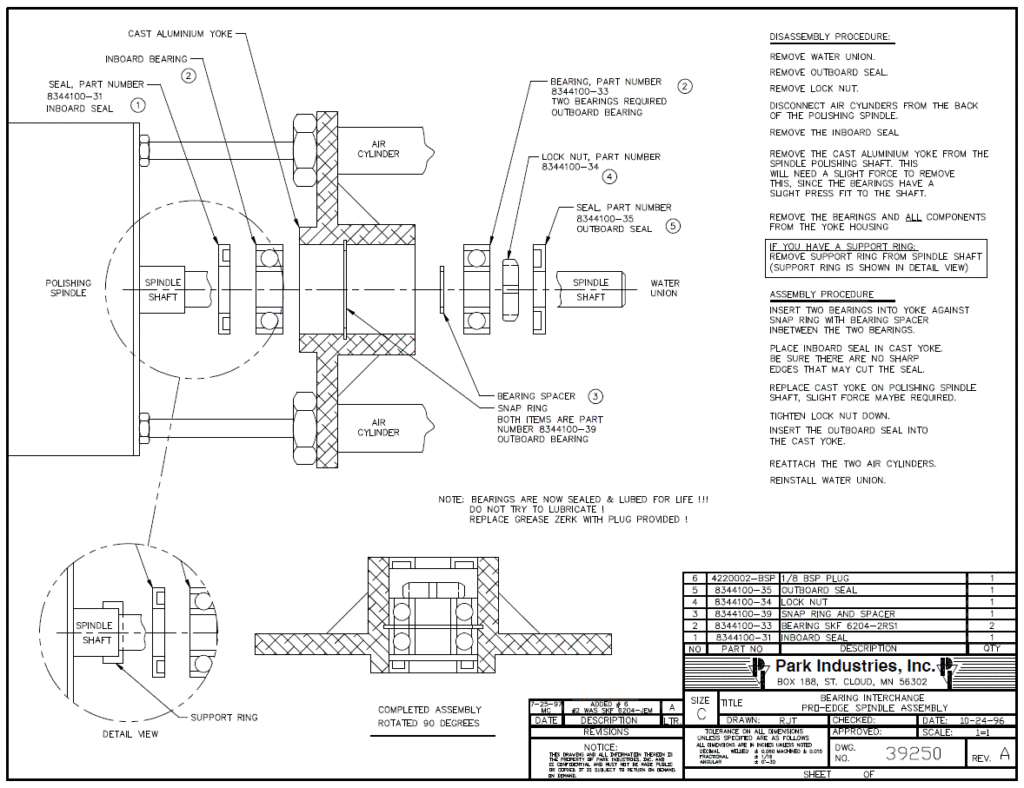
- Usually the yoke assembly can be removed by pulling back with several forceful jerks. If not, place an undersized bolt in the spindle shaft hole and use a gear puller to remove.
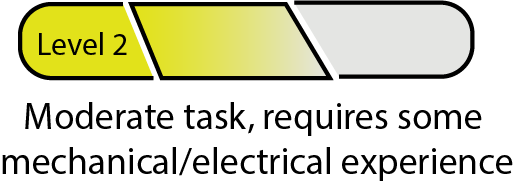
- When assembly is removed, place on the table and tap out the bottom seal the same way the top one was removed and discard the seal.
- Tap out the bearings from the housing gently with a punch while working around the whole bearing. Be careful not to damage the walls of the yoke body.
- After the bearings are removed inspect the the spring clip and spacer between the bearings for damage. If they are OK they can be re-used. If not then replace with new ones provided in the kit.
- Re-assembly is done in revers order. Be very careful when tapping in new bearings and seals. The seals only need to be mounted flush with the housing body.